
Businesses with a mobile workforce, see responsible usage of devices and reduced maintenance cost when SureLock is installed on the devices. With SureLock, an admin can allow only desired applications, hence improves the productivity of a resource.
Once SureLock settings have been finalized on a device, the admin can export settings to the cloud and then import it on other devices from the clouds.
Please follow the steps mentioned below:
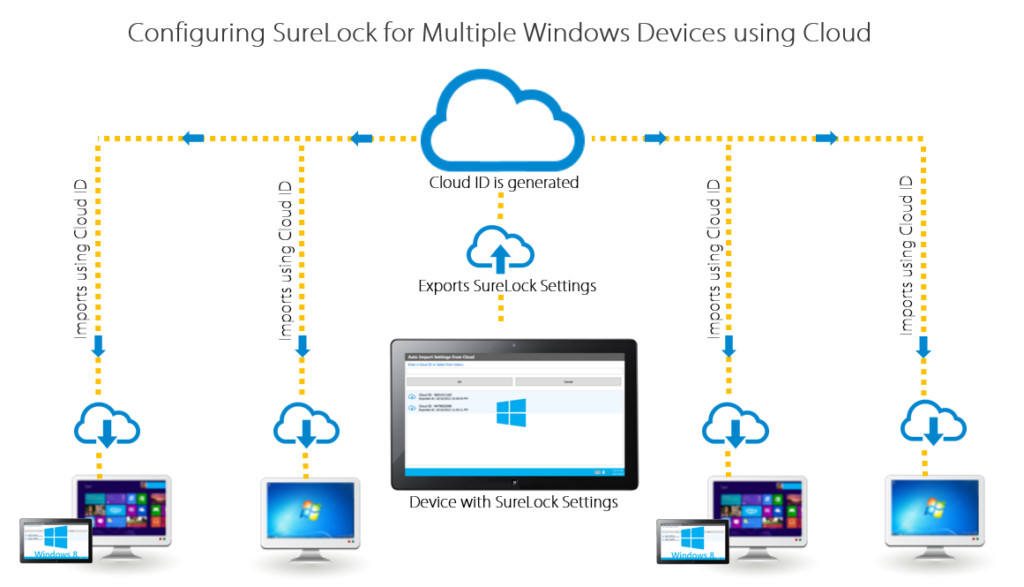
Export SureLock Settings to Cloud
1. Tap 5 times on SureLock Screen to launch a password prompt. Enter the password to enter into SureLock Settings
2. On SureLock Settings Main Menu, tap on Import/Export Settings
3. On the Import/Export Settings screen, tap on Export to Cloud
4. On Export Settings to Cloud screen, tap on any one of the following options:
- Create New Cloud ID
- Use Existing Cloud ID
5. On successful export of the SureLock Settings to the cloud, you will see a prompt with a Cloud ID.
6. Copy the Cloud ID to the clipboard. It can be used to import SureLock Settings on other devices
Import SureLock Settings from Cloud
1. Tap 5 times on SureLock Screen to launch a password prompt. Enter the password to enter into SureLock Settings
2. On SureLock Settings Main Menu, tap on Import/Export Settings
3. On Import/Export Settings screen, tap on Import From Cloud
4. On Import Settings from Cloud screen, enter the Cloud ID or select it from the Cloud ID History
5. Tap on Import to complete. On successful import of SureLock Settings from the cloud, a prompt will inform you that it has been successfully imported
You can also configure periodic checks and automatic import of SureLock Settings using the cloud. To learn more about SureLock for Windows, click here.