
The need to change the upload selector may stem from security, compliance, or usability considerations. For instance, organizations may want to limit the file types that can be uploaded to prevent potential security risks or ensure compliance with data handling regulations. Additionally, customisation of the upload selector can enhance the user experience by tailoring the file upload process to specific needs.
To enhance the security, usability and user experience, our SureLock product has been introduced with a feature to select the type of uploader.
Purpose
The purpose of this knowledge article is to provide a guide on how to change the upload selector within SureLock.
Prerequisites
- This feature is supported on SureLock V21.12.03 and later, or SureMDM Agent V27.12.03 and later.
Steps
- Open the Surelock Admin Settings on a device and launch the SureLock job on the SureMDM console.
- Navigate to Manage Websites, select Browser Preferences, and click on Upload Settings.
- Enable Allow Uploads.
- Click on the Upload selector and select “System File Selector or Internal File Selector” based on your requirements.
Note:
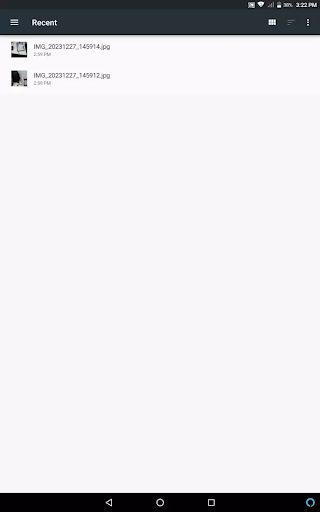
- Internal File Selector provides the option to scroll through a list of files and folder locations available, while System File Selector allows the user to view file thumbnails or change the view to grid view based on requirements.
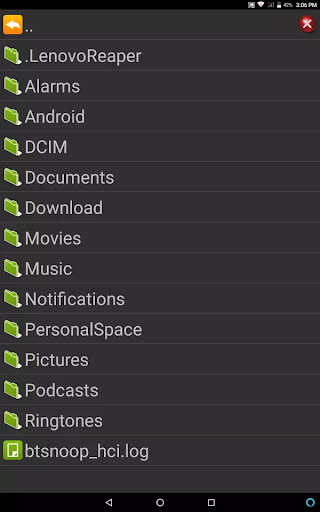
- The default selection for the same would be Internal File Selector.
5. Click Done until you return to the SureLock home page, along with the required applications and website configurations configured on the device.
6. In the case of the SureMDM console, click Done and Save the settings file.
Need help? CONTACT US