
As an administrator, you might have a need to restrict other users in your account to only a few features. e.g., user A could be allowed to push files to remote devices but is not permitted to locate the position of devices on a map. Or user B could remotely lock the devices but not remotely wipe them.
SureMDM now has a new feature using which the SureMDM administrator of an account can control permissions for other users. As an Administrator, you can configure the permissions of an existing user or create a new user.
Purpose
The purpose of this knowledge article is to provide a guide on how to prevent users from accessing certain features in the SureMDM Web console
Prerequisites
NA
Steps
Step 1: To set User Access Permissions for an existing user
1. Click on the Settings icon on the top right of the SureMDM Console.
2. Select User Management from the dropdown menu.
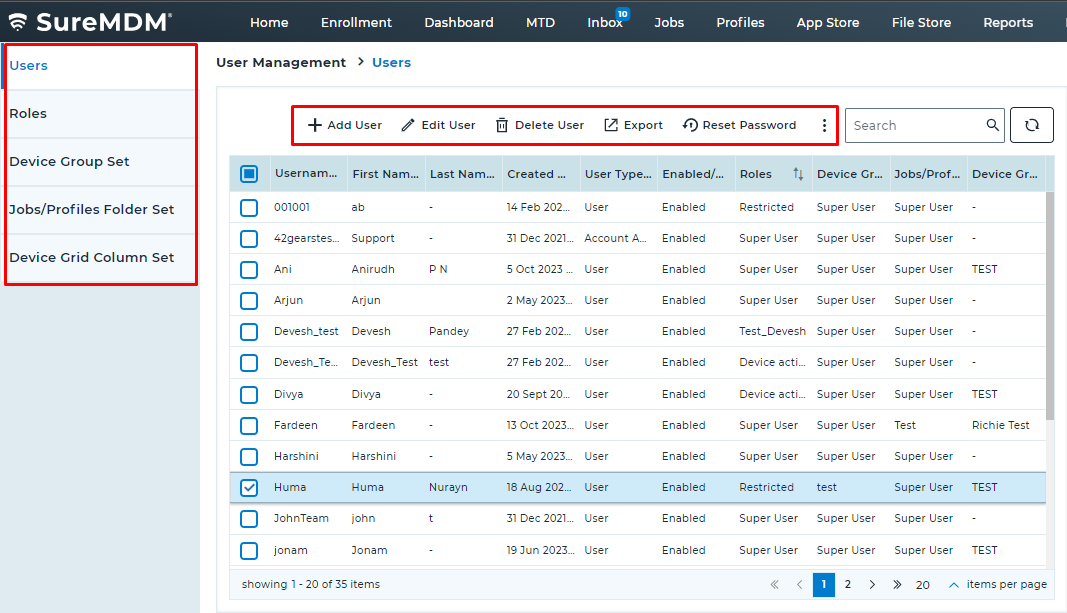
3. The user management prompt will list all the existing users.
4. Select a user and click Edit User to modify the permissions.
5. On the Edit User Settings prompt, select relevant options under Roles, Device Group Set, and Jobs/Profiles Folder Set, and Save the changes.
Note: For details on Roles, Device Group sets, and Jobs/Profiles Folder sets, please click here.
Step 2: To set User Access Permissions for a new user
1. Click on the Settings icon on the top right of the SureMDM Console.
2. Select User Management from the dropdown menu.
3. The User Management prompt will list all the existing users.
4. Click on Add User to add a new user with custom permissions.
5. On the Create New User prompt, enter the following details and click on User Permissions:
- User Name
- Password
- First and Last names
- Phone number
- Roles
- Device Group Set
- Jobs/Profiles Folder Set
- Device Grid Column Set
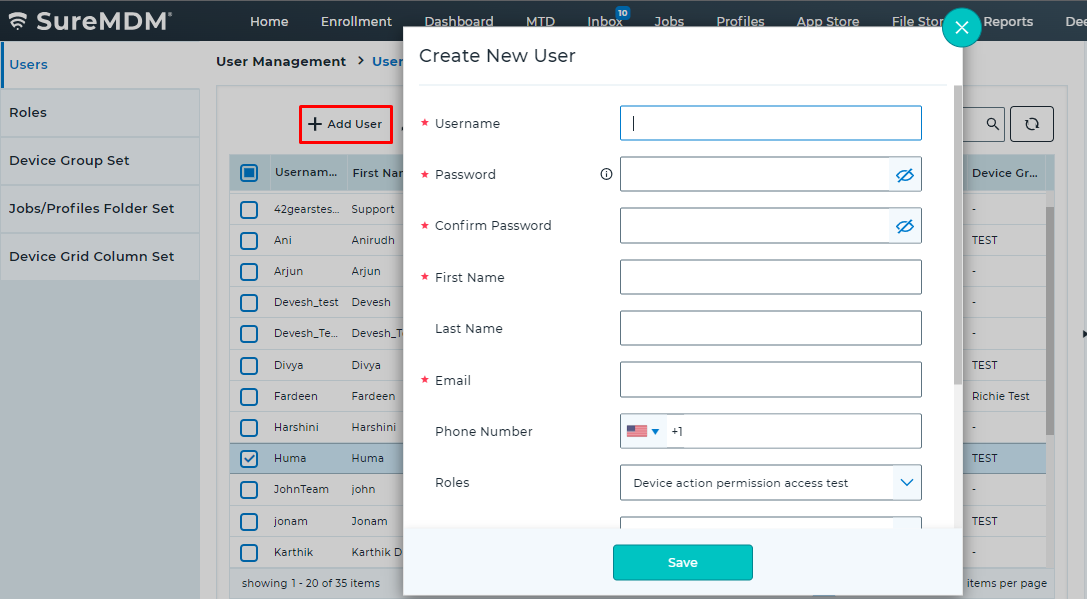
6. On the User Permissions prompt, customize the permissions for the user and click OK.
7. Once complete, after login, the user will be able to use only the permitted features.
Need help? CONTACT US