
SureMDM provides a complete solution to effectively manage and secure your Android TV-powered Chromecast devices. When you enroll your Chromecast devices into the SureMDM console, you gain centralized control, improved security, and simplified device management.
Purpose
This knowledge article aims to offer step-by-step instructions for the enrollment of a Chromecast device within the SureMDM console.
Prerequisites
- Install the ADB tools and drivers on your desktop or laptop.
Steps
The following steps are involved in enrolling a Chromecast device into the SureMDM:
- Setting up the Chromecast device.
- Connecting Chromecast device to ADB over Wi-Fi.
- Enrolling Chromecast device Into SureMDM.
Step 1: Setting up the Chromecast device
To prepare your Chromecast device for enrollment in SureMDM, you need to go through a configuration procedure. Make sure your Chromecast device is not linked to any Google account and is set to basic TV mode. However, during the initial setup, you will be asked to enter a Google account, which you should remove after completing the configuration.
1. Initial Chromecast Device Setup.
- When you set up a Chromecast device for the first time, you will be prompted to link a Google account. Please provide the required Google account information.
2. Enable Developer options.
- Once the initial setup is finished, navigate to Settings > System > About.
- Tap on the Android TV device OS Build seven times until a toast message stating “Developer options are enabled” appears.
3. Enable USB debugging.
- Navigate to Settings > System > Developer Options.
- Enable USB debugging and tap OK.
4. Removing the linked Google account and switching to Basic Mode.
- Navigate to Settings.
- Tap Accounts and sign in under General Settings.
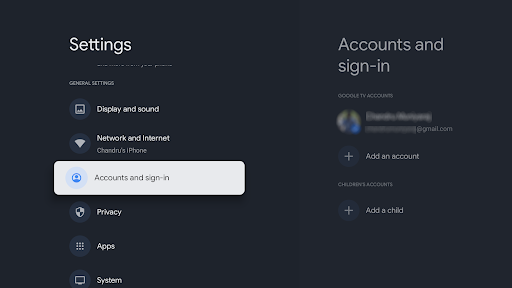
- Select the Google account and tap Remove.
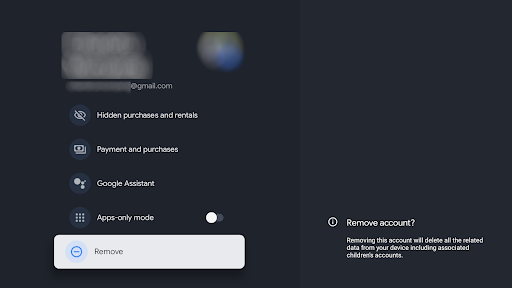
- On the Remove Account screen, select Remove account and switch to basic mode, and confirm.
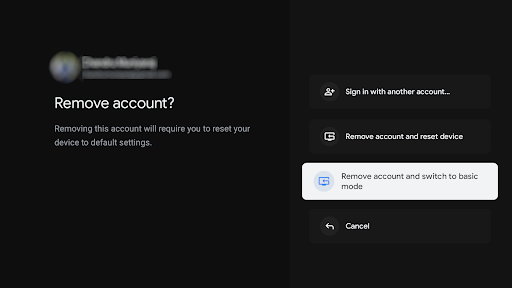
The Chromecast device now runs in basic mode. The next step is to enable developer mode and USB debugging on the Chromecast device.
Step 2: Connecting a Chromecast device to ADB over Wi-Fi
Follow the below steps to connect your Chromecast device to ADB over Wi-Fi
- Make sure that your laptop and the Chromecast device are connected to the same Wi-Fi network.
Note: The laptop should have ADB drivers installed.
- Open a command prompt in the ADB folder by typing cmd in the address bar.
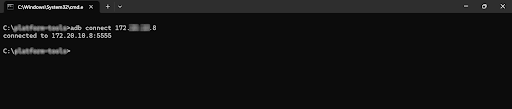
- Run the following command to connect the Chromecast device to ADB:
adb connect <Chromecast device's IP address: Port Number>Note: Please replace <Chromecast device’s IP address: Port Number> with the actual IP address allocated to the Chromecast by the Wi-Fi network.
Example: 185. 02. 10. X: 8DXY
The next step is to enroll the Chromecast device into the SureMDM console.
Step 3: Enrolling a Chromecast device into SureMDM
Follow the below steps to enroll your Chromecast device into the SureMDM console
- Download the SureMDM Agent from here.
- Run the following command to install the SureMDM Agent on the Chromecast device:
adb install <SureMDM Agent's file path>Note: Please replace <SureMDM Agent’s file path> with the file path of the SureMDM Agent along with the file name.

3. Run the following command to enable the SureMDM Agent as the device owner:
adb shell dpm set-device-owner com.nix/com.nix.NixDeviceAdmin
4. Open the SureMDM Agent on the Chromecast device.
5. Follow the on-screen instructions on the SureMDM Agent to grant the necessary permissions.
6. Once all the permissions are granted, tap Continue.
7. Enter the Account ID and tap Continue.
8. Enter the Server Path and tap Continue.
Note:
- Account ID is the unique identification number of the SureMDM account, and it can be copied from the SureMDM Console, i.e., Navigate to Settings on the top right corner in SureMDM console.
- The server path is the SureMDM console URL to which the devices will be enrolled.
9. Select one of the following options to set the device name on the Configure Device Namescreen:
- Set Device Name Manually
- Use MAC Address
- Use System Generated Name
- Use Serial Number
10. Once done, tap Register and Continue.
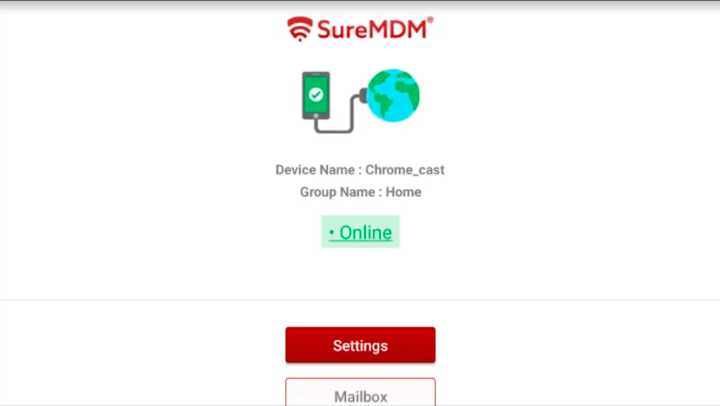
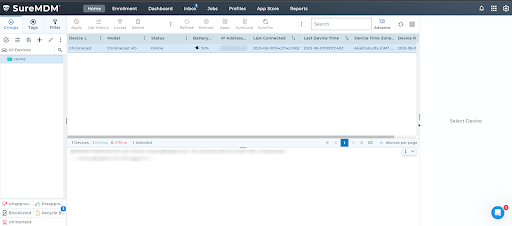
11. When the device is enrolled in SureMDM, admins will notice the following:
- On the SureMDM Agent Home Screen, the device status changes to Online.
- On the SureMDM Web Console, the device appears under the Device Grid.
Need help?