
Purpose:
The “Disable Inactive Users” feature helps administrators maintain security and ensure that only active users have access to the SureMDM console. By automatically disabling user accounts that remain inactive for a defined period, this feature minimizes the risk of unauthorized access and improves overall account management efficiency.
This article provides step-by-step instructions to set inactivity duration, automatically disable inactive accounts, and re-enable users when required.
Prerequisites:
This feature is available only for the Admin of the SureMDM console.
Steps:
1. Log in to the SureMDM console
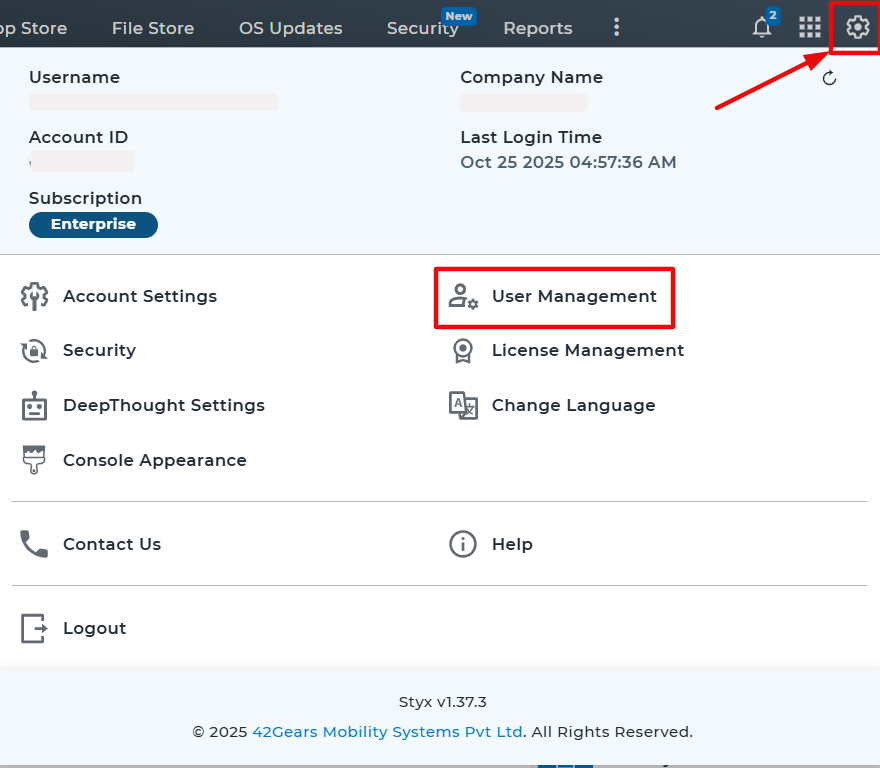
2. Click on the top-right gear icon and navigate to the User management.
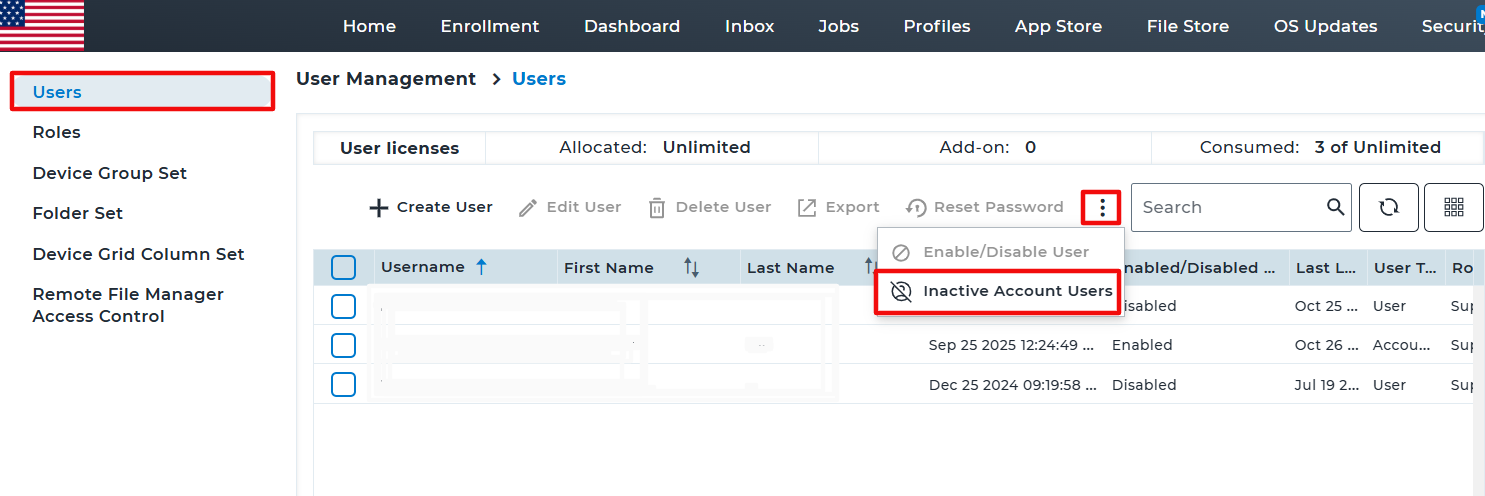
3. Click on the hamburger icon-3 dots(⋮)
4. Select “Inactive Account Users”.
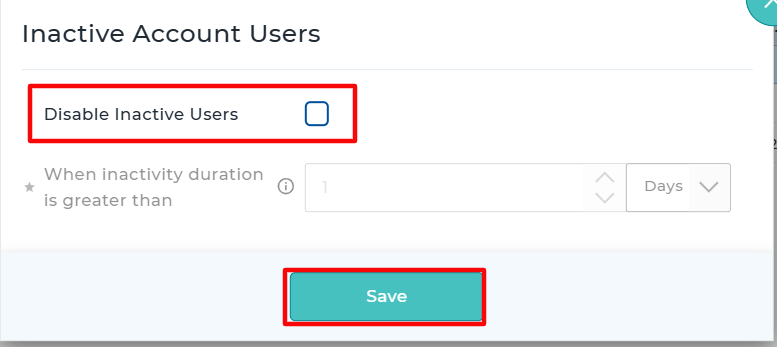
5. Enable “Disable Inactive Users”.
6. Select the number of days or months for “When inactivity duration is greater than” and click on save.
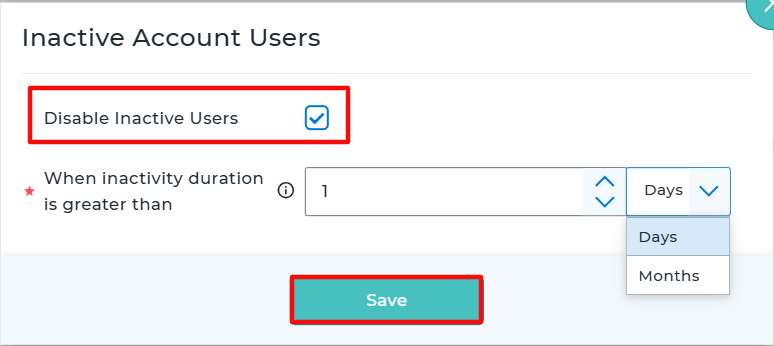
If the user does not log in for the specified number of days or months, the user will be disabled automatically.
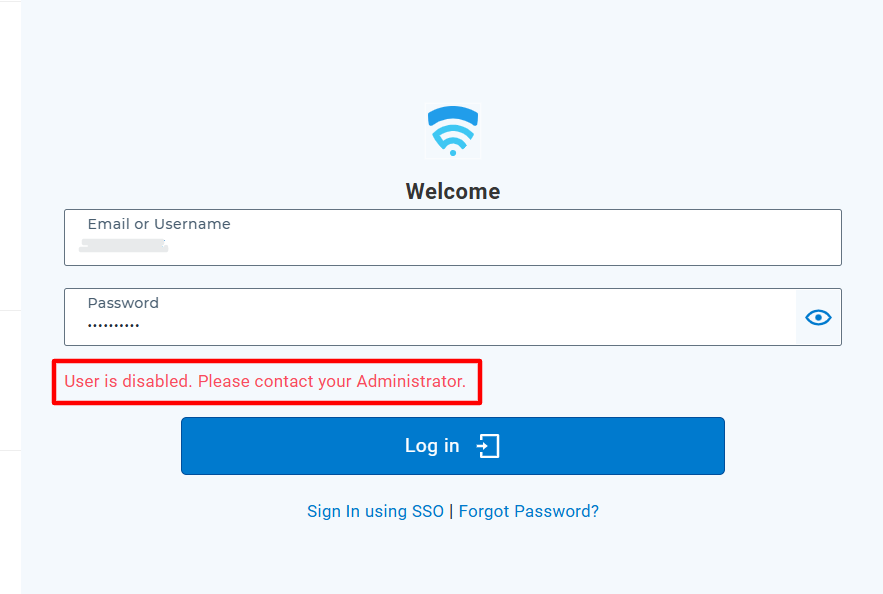
When the user tries to log in to the SureMDM console after the specified days/months of inactivity, the user will get the following prompt.
Admin can re-enable the specific Disabled user by selecting the user hamburger icon-3 dots(⋮) and clicking on Enable user.

To Disable the Inactive Account users feature, Uncheck the option Disable Inactive Users and click on save. This will make sure, no Inactive user accounts will be disabled due to inactivity.
Conclusion:
With the help of Disable Inactive Users feature, administrators can ensure that inactive user accounts are automatically disabled after a specified interval, reducing the need for manual management and preventing unnecessary logins from dormant users.
Need help?
CONTACT US