
The mobile device management (MDM) feature in Microsoft 365 is a great solution that helps reduce this complexity for mobile devices. Microsoft 365 device management allows administrators to monitor, protect, and secure their organization’s resources and data on various devices.
Purpose
Office 365 integration with SureMDM helps administrators configure and deploy restriction policies (Data Loss Prevention (DLP) features) on the enrolled devices This integration ensures secure access to Microsoft apps and data from mobile endpoints.
Below are the licenses required to integrate the O365 Settings with SureMDM:
- Azure Active Directory Premium P2
- Enterprise Mobility + Security E5
- Office 365 E3
42Gears offers different controls for different operating systems, such as
- Android
- iOS
Steps
Following steps are involved in Office 365 Integration with SureMDM:
- Configure Office 365 app settings in the Azure portal and SureMDM Web Console.
- Create a group and assign the users to the groups. To know more about this, please follow this article.
- Configure DLP application policy and assign it to a group. To know more about this, please follow this article.
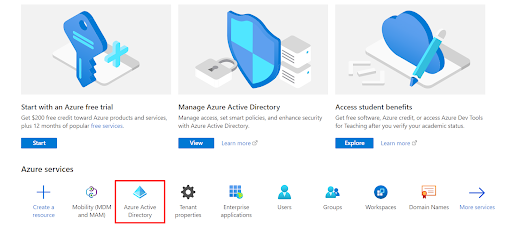
- Login to Azure Portal.
- Enter your Username and Password.
- Go to Azure Active Directory.
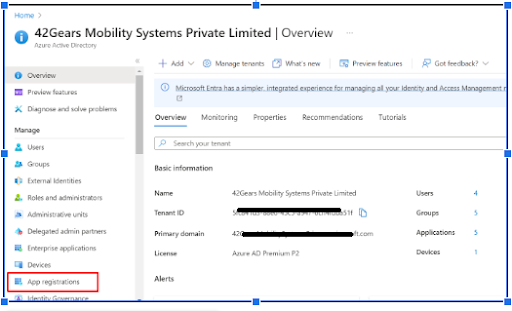
- Click on the App registrations option.
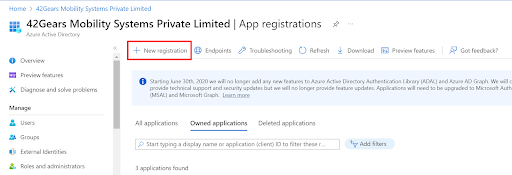
- Click on New Registration option.
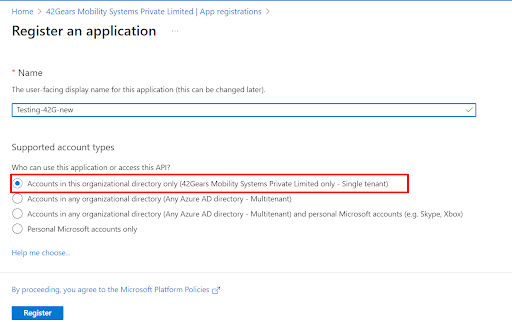
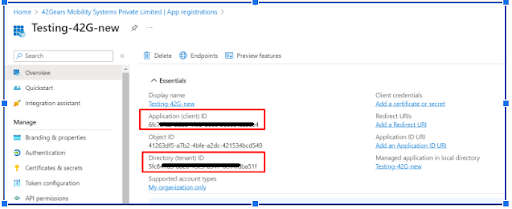
- Enter the App Registration name, Select the first radio button i.e. Accounts in this organizational directory only and Click on Register button.
- Copy the Application (client) ID and Directory (tenant) ID.
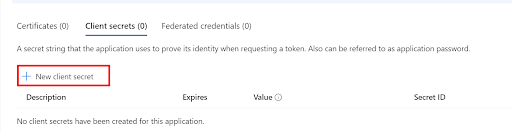
- Click on Certificates and secrets option.

- Click on the New client secret button.
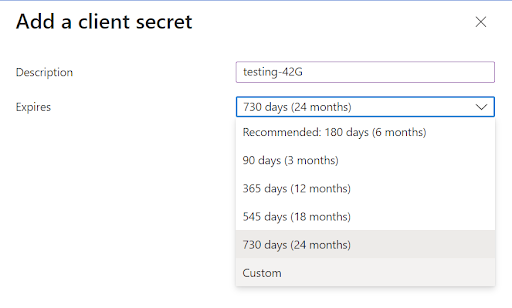
- Enter any Name, Select Maximum period or else set your custom value for expiry date and click on Add button.
- Once you add the client secret then it will auto generate the Application secret for you
i.e. Fjz8Q~nMVgcdveQAiOpj-dbb7CsIaczgR3~93auQ
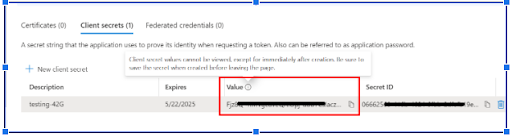
Note: Please copy the secret key as soon as it gets generated or else it will get hidden.
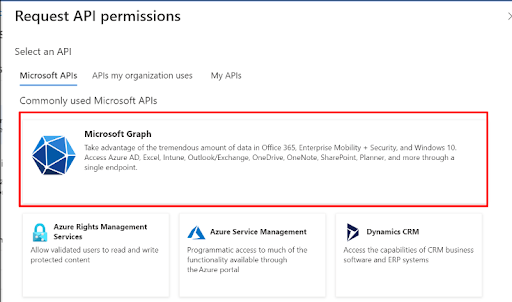
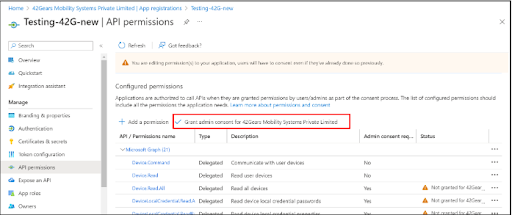
- Go to API permissions >> Add a Permission.
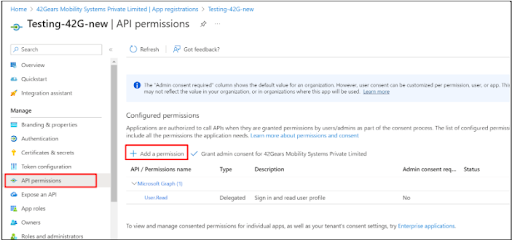
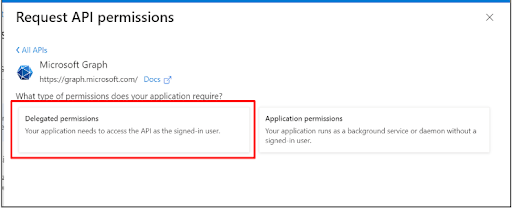
- Click on the Microsoft graph option >> Choose Delegated Permission.
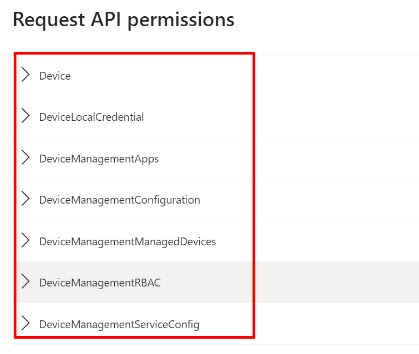
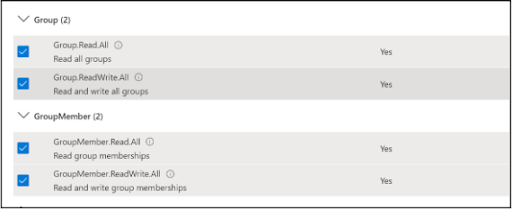
- Enable the checkboxes for Device and Group permissions and click on Add permissions button.
Device permission: (scroll down and check the checkboxes for all the Device and Device Management related permissions)
Group permission: (scroll down and check the checkboxes for all the Group and Group Member related permissions)
15. Under the API permission page, click on Grant Admin consent for newly created permission.
Step 2: How to configure O365 settings on SureMDM console:
1 Navigate to SureMDM Web Console > Settings (located at the top right corner) > Account Settings > Office 365 Settings.
2. Configure the below mentioned Office 365 settings and click Save.
- Enable : Allows configuration of Office 365 settings.
- Tenant ID, Application ID : Enter the values copied in step no.7 After entering the Tenant ID, click on validate.
- Application Secret : Enter the value copied in step no 11.
- User Name, Password : Enter the Azure AD credentials.
The creation of groups is used to manage users that all need the same access and permissions to resources, such as potentially restricted apps and services.
Prerequisites
- To know more about how to integrate access to Microsoft apps and data (Office 365) from Mobile endpoints via SureMDM, please refer to this document.
Steps
1. Navigate to Azure AD portal > Azure Active Directory > Groups > New Group.
2. In the New Group screen,
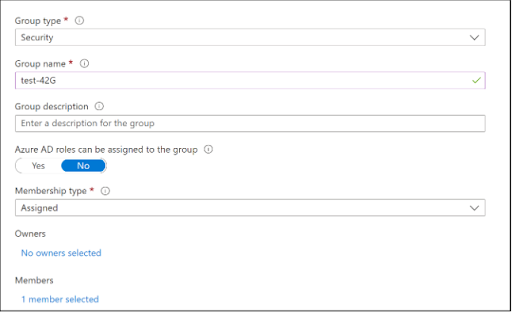
- Group Type : Select Security from the drop-down menu.
- Group name : Enter a group name.
- Group Description : Enter a description for the group.
- Membership type : Select Select Assigned from the drop-down menu.
- Add Members : Select the members to be assigned to the group from the right-panel.
3. Click Select > Create.
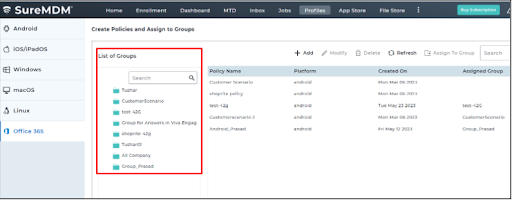
A newly created group will be listed under the Groups section in the Azure AD portal.
This group will also get synced with SureMDM Web Console and reflected under Profiles > Office 365 > List of Groups.
DLP application policy can be configured in two ways:
- Using the Azure AD portal.
- Using the SureMDM Web console.
Prerequisites
- To know more about how to integrate access to Microsoft apps and data (Office 365) from Mobile endpoints via SureMDM, please refer to this document.
Steps
To configure DLP policies for Office 365 applications using the Azure portal,
- DLP is a security strategy that focuses on detecting and preventing the loss, leakage, or misuse of data through breaches or unauthorized use.
- Configuring DLP identifies sensitive information in an organization’s documents and then prevents users from distributing the information without special authorization.
- Admins can create a DLP policy for Office 365 applications and assign it to a group using the Azure portal.
Step 1 : To configure DLP policies for Office 365 applications using the Azure portal, follow these steps.
Note: The below-mentioned steps are given for App protection policies.
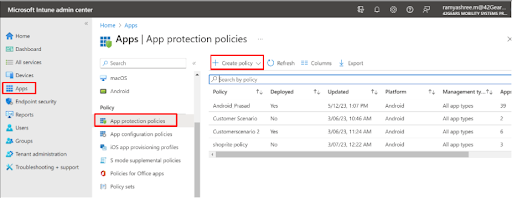
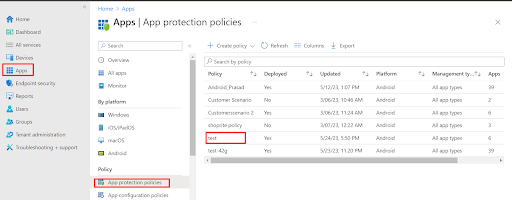
- Navigate to the Azure AD portal and search for Intune.
- Click Intune > Apps > App Protection Policies > Create policy > Select the Platform (Android /iOS).
3. On the App Protection Policy screen, enter the policy name and description.

4. Click Apps and select the required apps.
5. Continue to configure the DLP settings:
- Data protection
- Access requirements
- Conditional launch
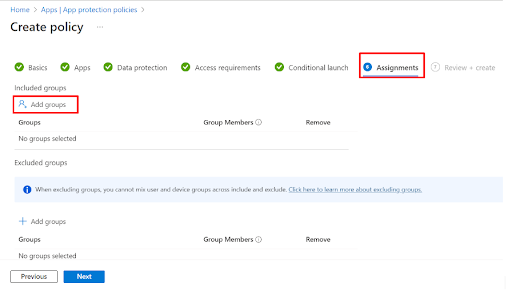
- Assignments.
6. In the assignments tab, click Select groups to include and select the group(s) to which the policy will be assigned.
7. The newly created policy will be listed under the App Protection Policies section.
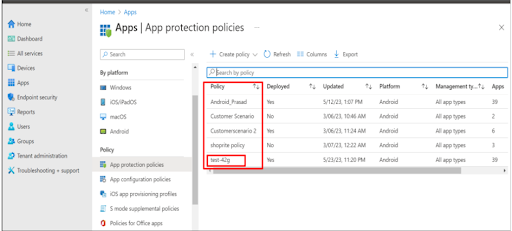
8. The policy will be applied to the selected Office 365 apps for the users in the group. The policy created and assigned to a group in the Azure portal will get synced and reflected under Profiles > Office 365 in the SureMDM Web Console as well.
Step 2 : To configure DLP policies for Office 365 applications using the SureMDM Console.
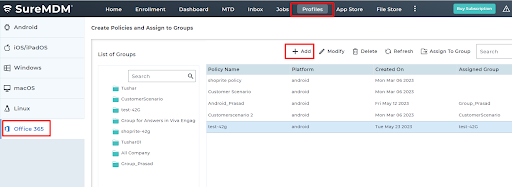
1. Navigate to SureMDM Web Console > Profiles > Office365 > Add > Select the Platform.
- Enter the Policy Name and Description.
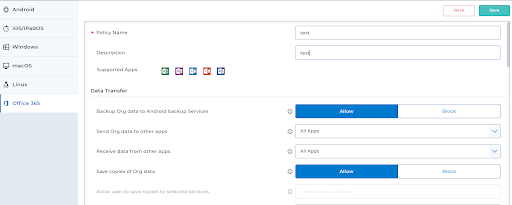
- Configure the DLP settings:
- Data Transfer : Allow or block the data backup, control the sending and receiving of data between apps, restrict cut-copy-paste between apps, allow or block screen capture, and use Google Assistant.
- Encryption: Allow to encrypt and secure the data.
- Functionality: Allow or block data printing, syncing of apps with native contact apps, and ensuring the sharing of web content with policy-managed browsers only.
- Access requirements: Admins can set up different access types to access Office 365 applications, like numeric PINs or passcodes, fingerprints, touch ID, face ID, and work or school account credentials.
- Conditional Launch: This conditional launch setting allows you to set values to Block access, Wipe data, and Warn as possible actions when each value isn’t met.
- Click Save.
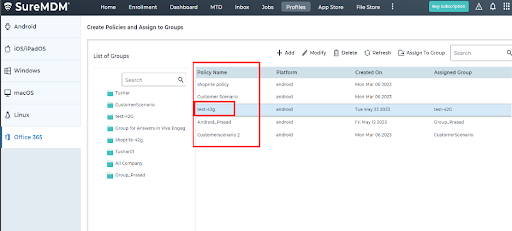
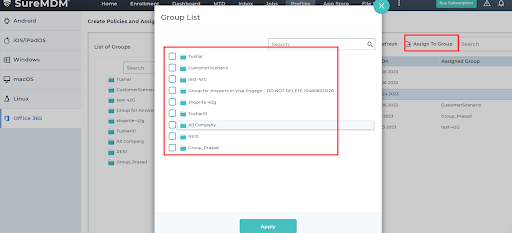
The newly created policy will be listed under the Create Policies and Assign to Groups section.
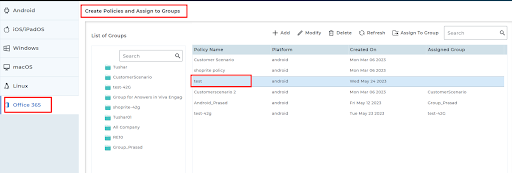
Note: Admins can modify, delete, or refresh the policies.
- Select the created policy from the list and click Assign to Groups.
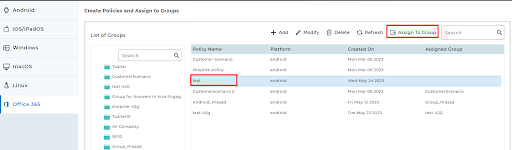
The restriction policy will be applied to the selected Office 365 apps for the users in the group. The policy created and assigned to a group in the SureMDM Web Console will get synced and reflected in the Azure AD portal as well.
NOTE:
- Policies can be created from the MDM console as well as the Azure portal.
- Assignment of policies to any group (which has been created in the Azure portal) can be done from the MDM console as well as from the Azure portal.
- Groups and Policies that we create in the Azure portal will get synced up with the MDM console.
- 2FA has to be disabled for the login credentials of the Azure portal in order for the O365 integration to work with SureMDM.
Verify 0365 apps on the device side:
- Login to managed O365 apps (Microsoft apps that are allowed to be installed by admins) using the O365 username and password.
- Set the pin as per the conditional launch policy.
Need more help? Here’s how to get help from our experts.