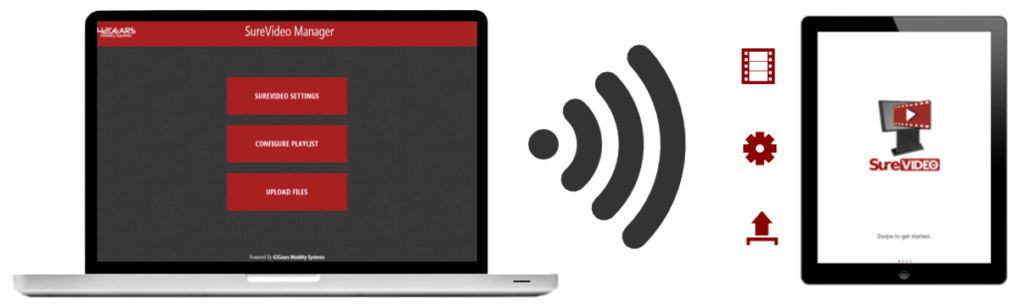
SureVideo instantly turns your iPads into a locked device looping and playing only allowed videos. And now, with the new web interface, SureVideo makes it quick and easy for you to perform important functions remotely. All you have to make sure is that your computer and the iPad are in the same Wi-Fi network.
Here is what all you can do with new SureVideo Web Interface:
1. Configure SureVideo Settings
2. Configure Playlist
3. Upload Files
How to access SureVideo Web Interface?
To access SureVideo Web Interface, follow below mentioned steps:
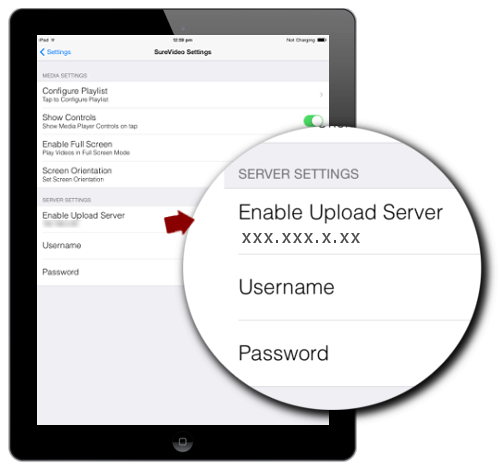
1. Note the IP Address of the device. If you are not sure about the IP Address of the device, note it from:
- SureVideo Welcome Screen – Step 1 – Transfer Video Files
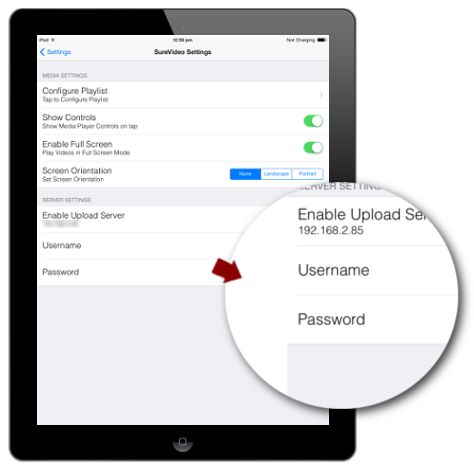
- SureVideo Settings – Server Settings – Enable Upload Server
2. Open a web browser on your computer, enter the Device IP Address in the Address Bar, and hit Enter
3. On Password Prompt, enter your Server Settings Username and Password
(Note: Not available in SureVideo Lite version)
4. Click on OK to login
5. Once logged in to SureVideo Web Interface and you will see the following screen –
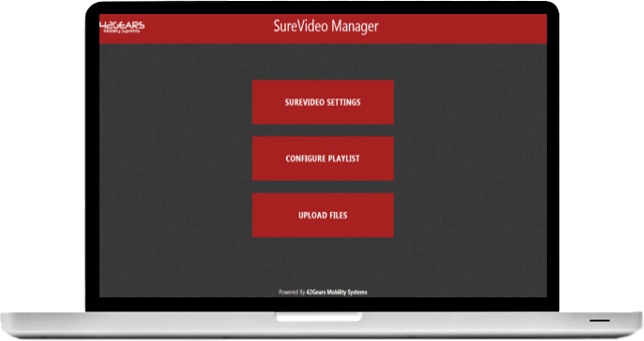
Configure SureVideo Settings
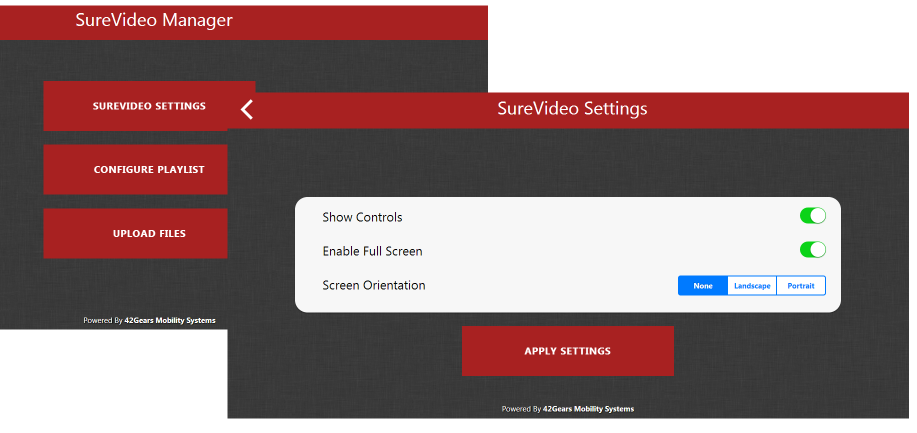
Use this option to configure the following SureVideo Settings remotely:
- Show Controls – Shows Media Player Controls on tap
- Enable Full Screen – Plays videos in Full-Screen Mode
- Screen Orientation – Set Screen Orientation as None/Landscape/Portrait.
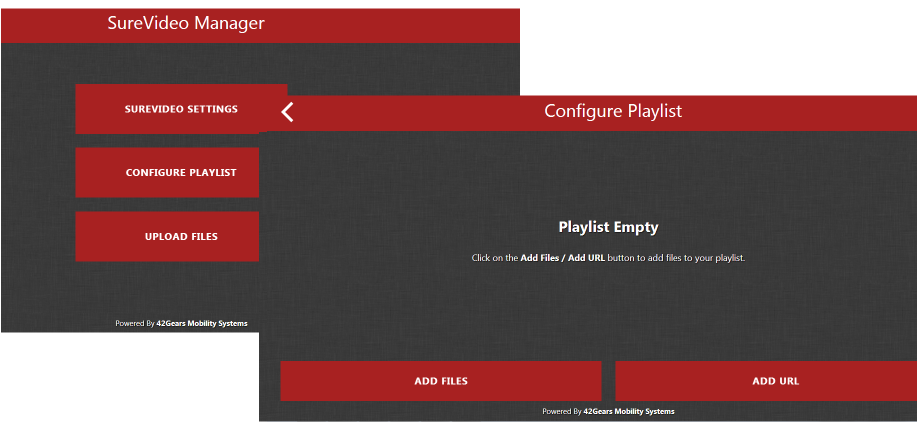
Configure Playlist
Use this option to configure SureVideo Playlist remotely. You can add video files or specify a URL to stream the video from.
Upload Files
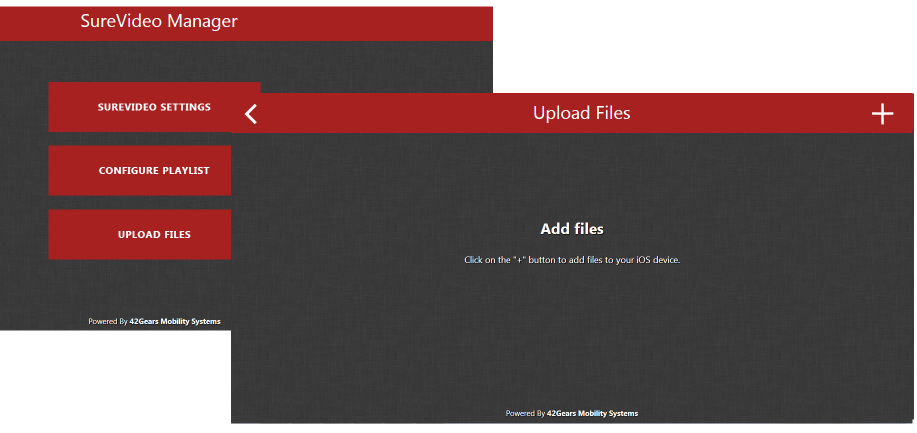
Use this option to upload video files. Uploaded files will be saved in SureVideo Document Directory and can be used to configure the playlist in SureVideo.

For more details on our products, click here
If you need further assistance, please submit a ticket here
Read more about our products: