
One of the most commonly used methods to enroll the Android devices to Device Owner mode in SureMDM is by using Google Mail Account.
There are basically 3 steps involved in this process:
- Enroll SureMDM using Android Enterprise
- Enroll device to SureMDM console
- Create and push Profile using SureMDM web console
Purpose
The purpose of this knowledge article is to provide a guide on how to enroll an Android device in SureMDM using Android Enterprise.
Prerequisites
NA
Steps
Below is the description of each step:
- Login to SureMDM web console
- Navigate to the Setting and further to Account Settings
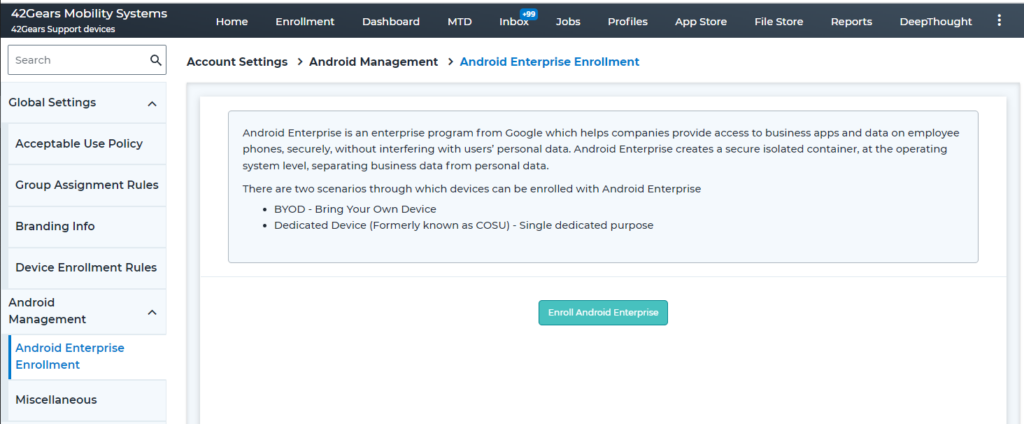
- Click on Android Management and select Android Enterprise Enrollment
- Click Enroll Android Enterprise
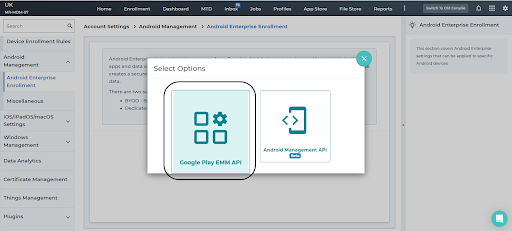
- Select Google Play EMM API
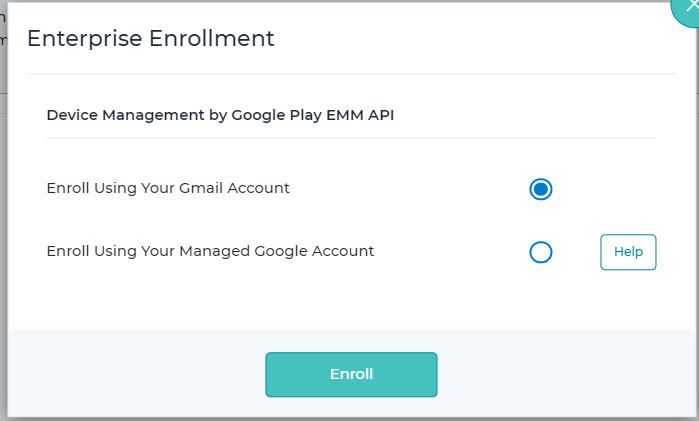
- Select Enroll Using Your Gmail Account and click Enroll.
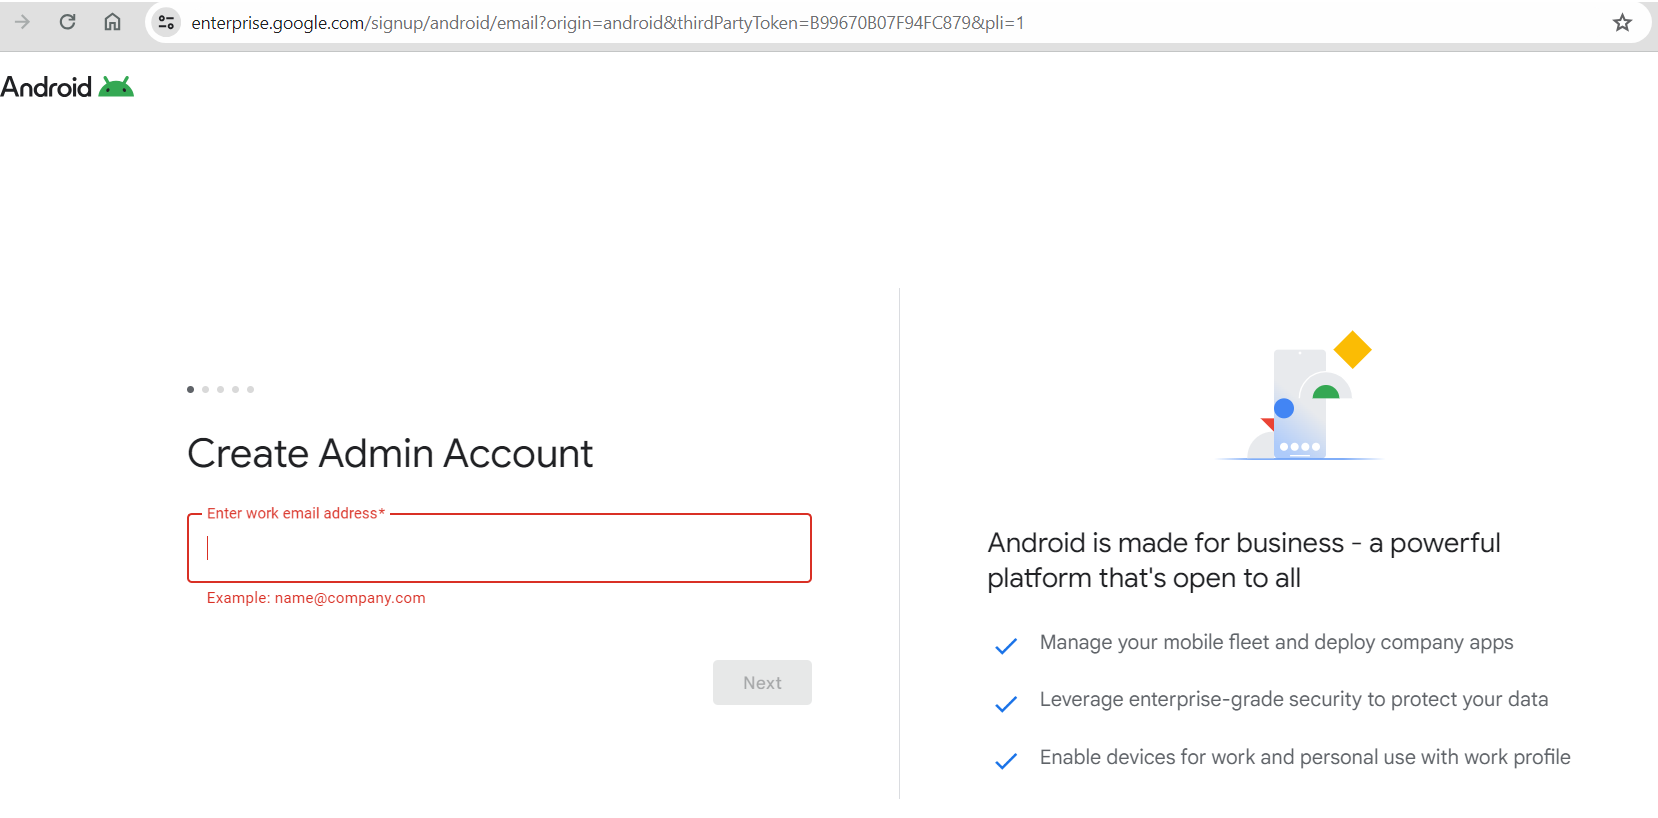
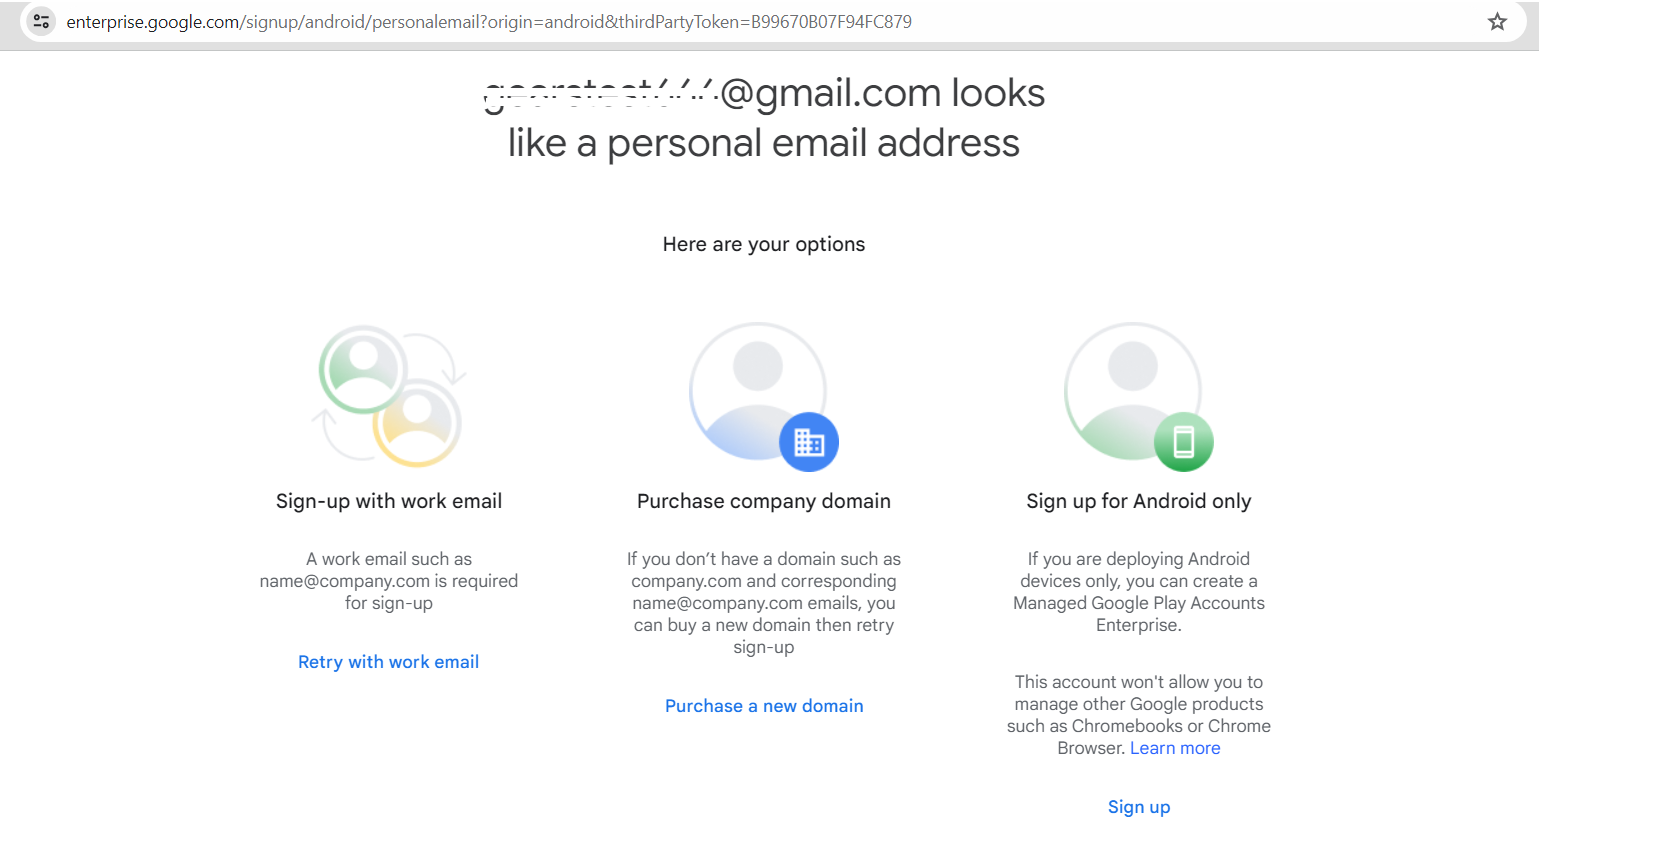
- On the Google Play page, enter Your Email to create an Admin account.
- On this page ,click Signup
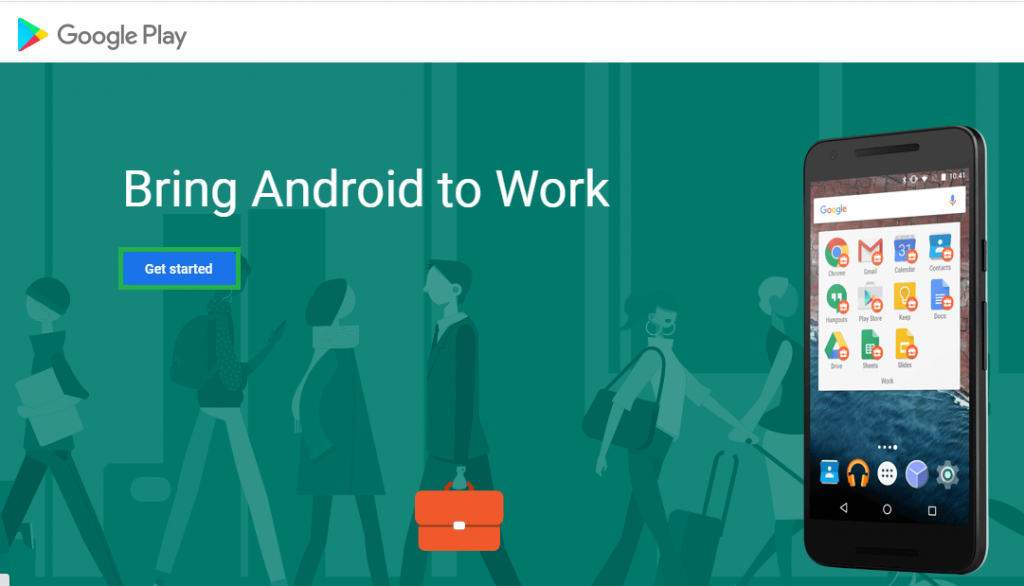
- On the Google Play page, click Get Started to go to the next page.
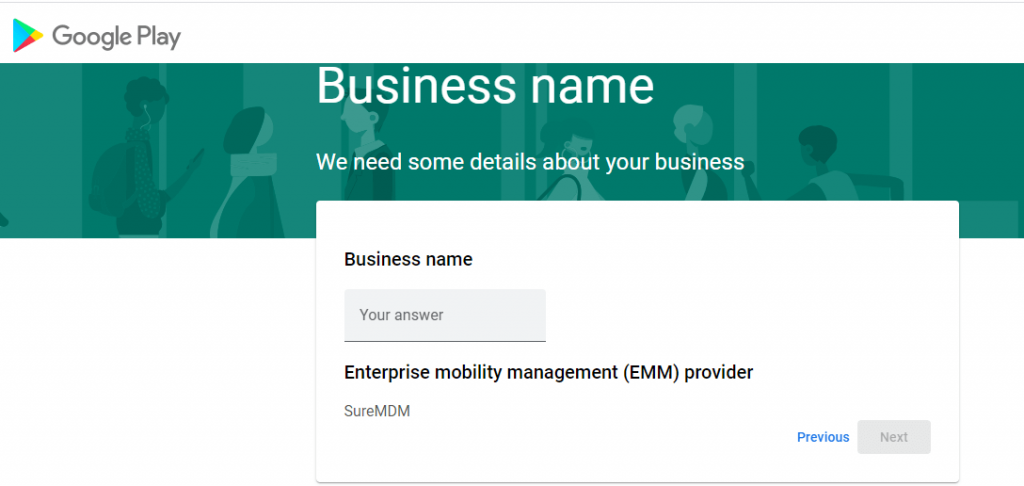
- In the Business Name screen, enter the Business name and click on Next.
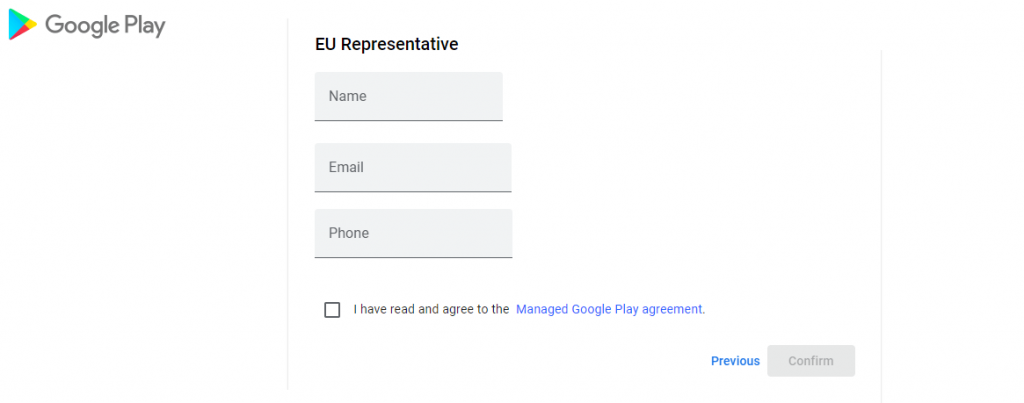
- In the Contact details page, under the EU Representative section details, enter the Name, Email, and Phone and check the I have read and agree to the Managed Google Play agreement check box.
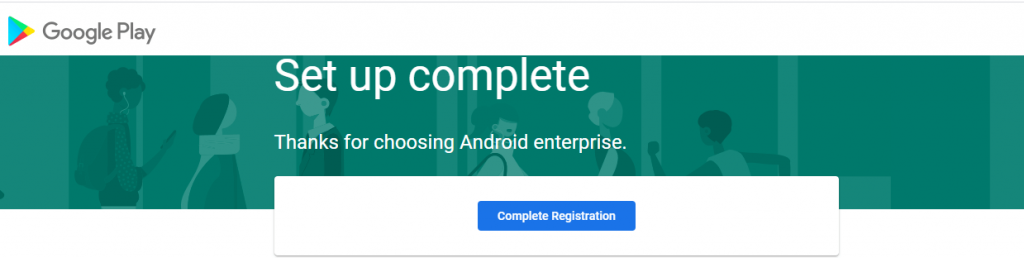
Click Confirm.
- Once done you will be navigated to Set up complete page, which means that your SureMDM account has been enrolled with Android Enterprise.
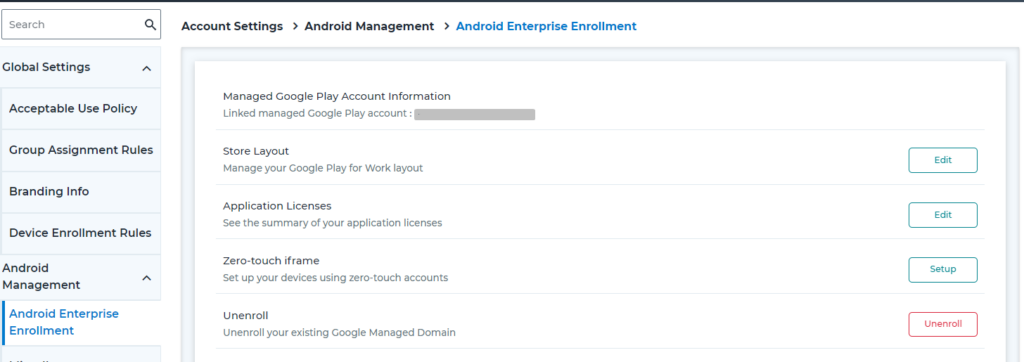
- Navigate again back to Android Enterprise Enrollment section to view verify the enrollment.
Please follow the below-mentioned steps to enroll the device QR Code.
a. On the SureMDM web console,
- Login to SureMDM Web Console and click on the Enrollment option.
- Click on ListView and select the Create QR Code option.
- In Setup QR Code for Enrollment prompt, enter the below details.
- Enter Name, select Platform as Android, Select Android Enterprise Enrollment as Enrollment Type. Click on Next.
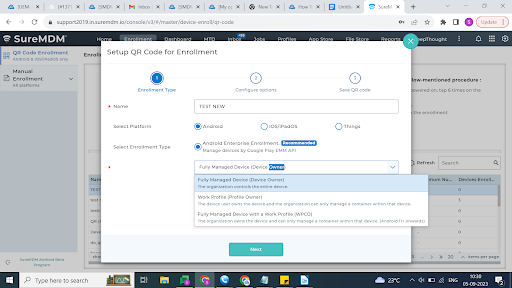
NOTE: In addition to the above configurations admin can configure Group, Device name, Enter Wifi SSID, configure Provisioning Settings, etc.,
- Navigate to Save QR Code and click on the Save option
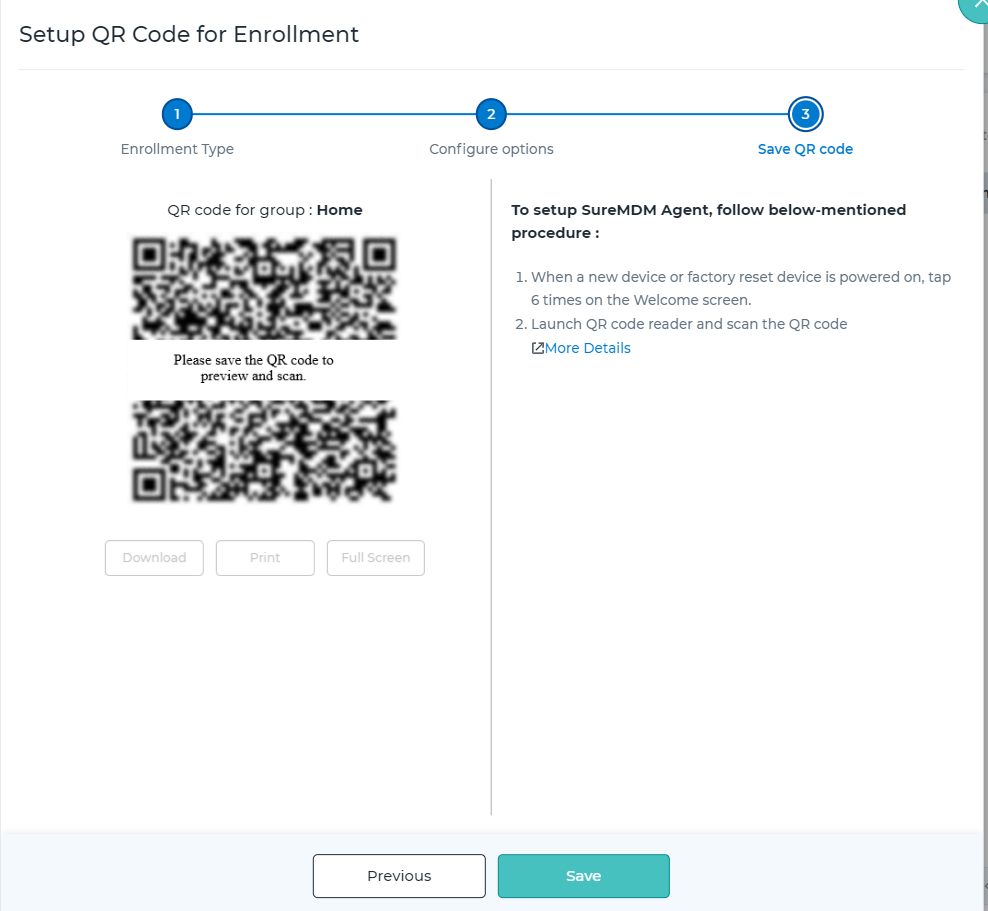
For details on how to add a device to specific group, click here
b.On the device,
- Factory reset device and power it on. On the Language screen, tap 6 times.
This will launch the QR code reader. Scan the QR code created on the SureMDM console using the above steps.
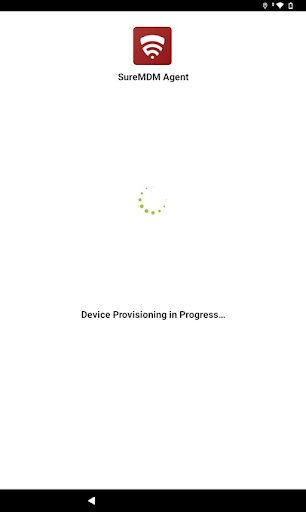
- Once the QR code is read, Dedicated Device enrollment will be initiated. Complete the Wizards of setting up the device and the device will be enrolled to SureMDM in Device Owner Mode.
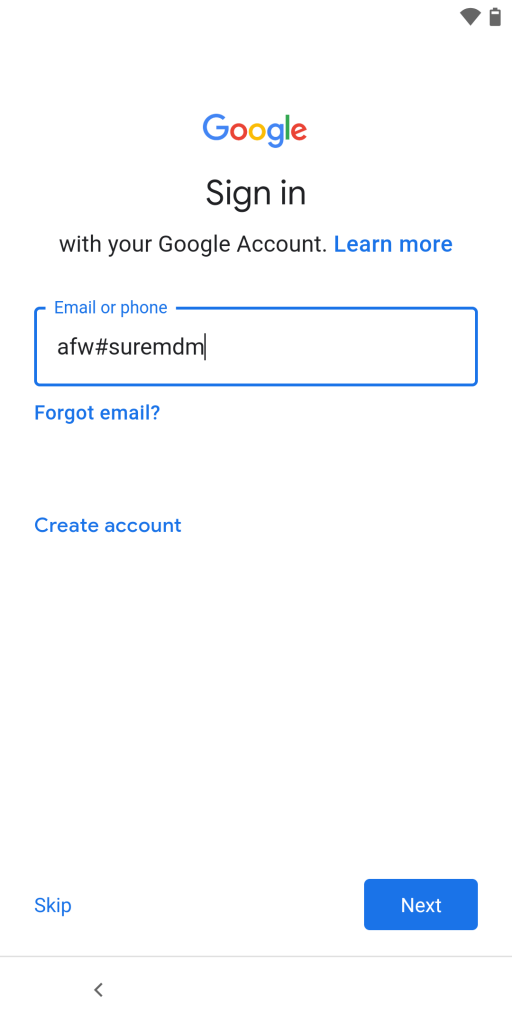
Please follow the below mentioned steps to enroll the device using Device Policy Controller ID (afw#suremdm). This method of enrollment is suggested for devices running with OS Nougat and above.
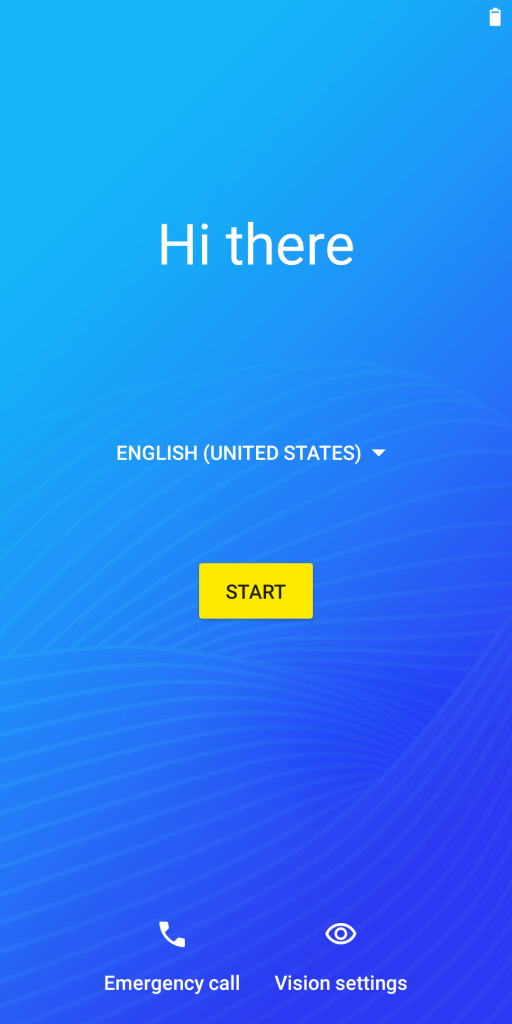
- Factory reset device and power it on. On the Language screen, select the Language.
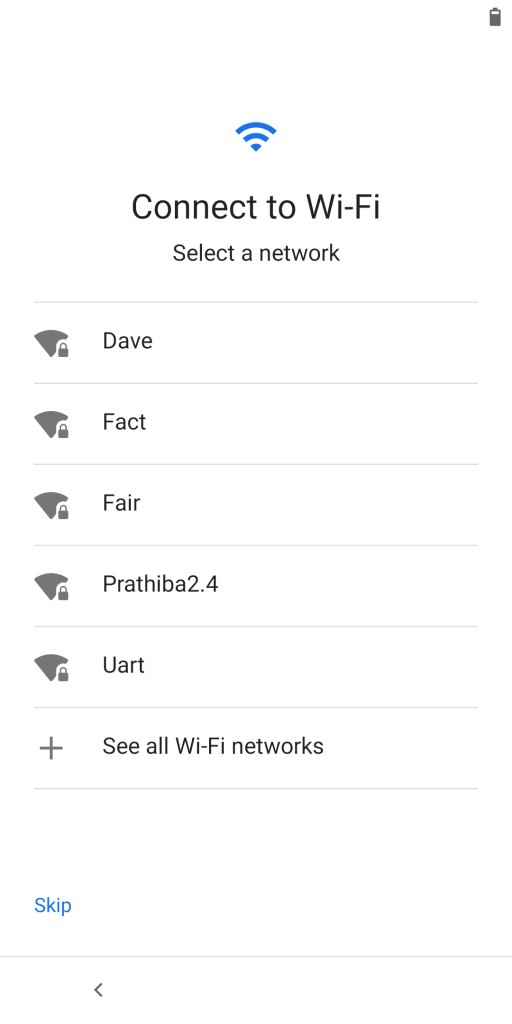
- In the Connect to Wi-Fi screen, select a network, enter the password and connect to it.
- In the Google Sign in Page, enter afw#suremdm in the Email or Phone section
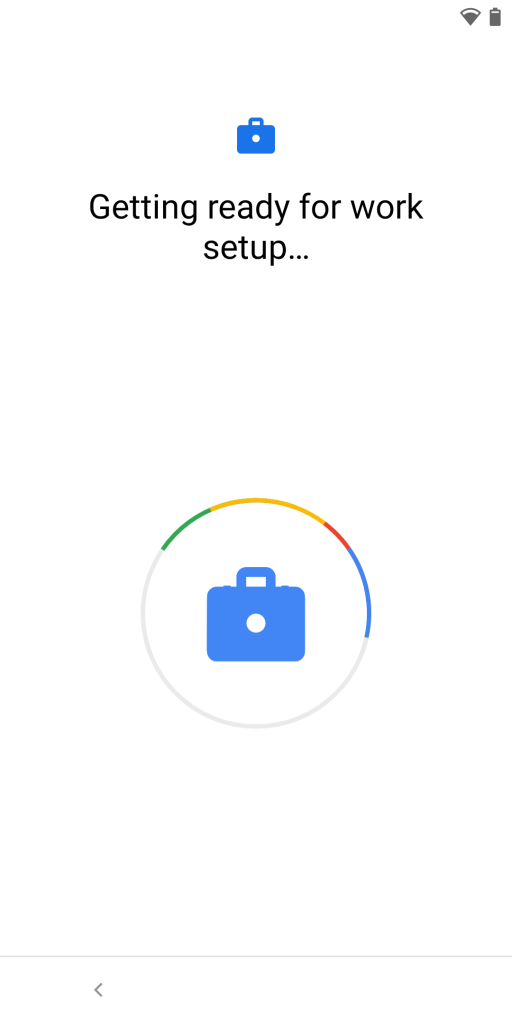
- Install SureMDM Agent as prompted on the Android Enterprise screen.
- In the Let’s set up your work device screen, click on Accept and Continue after reading the terms.
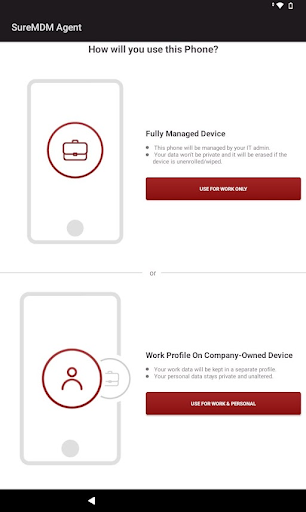
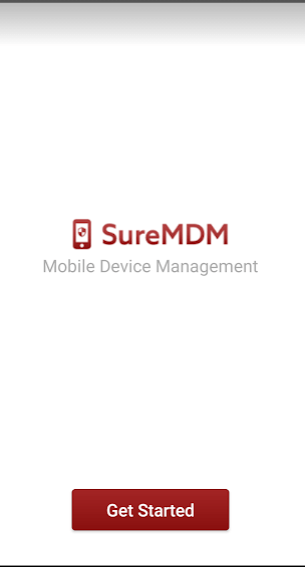
- Complete the other setup Wizard on the device. Once the device is set up, launch the SureMDM Agent on the device.
- Click Get Started and configure the SureMDM Agent as below.
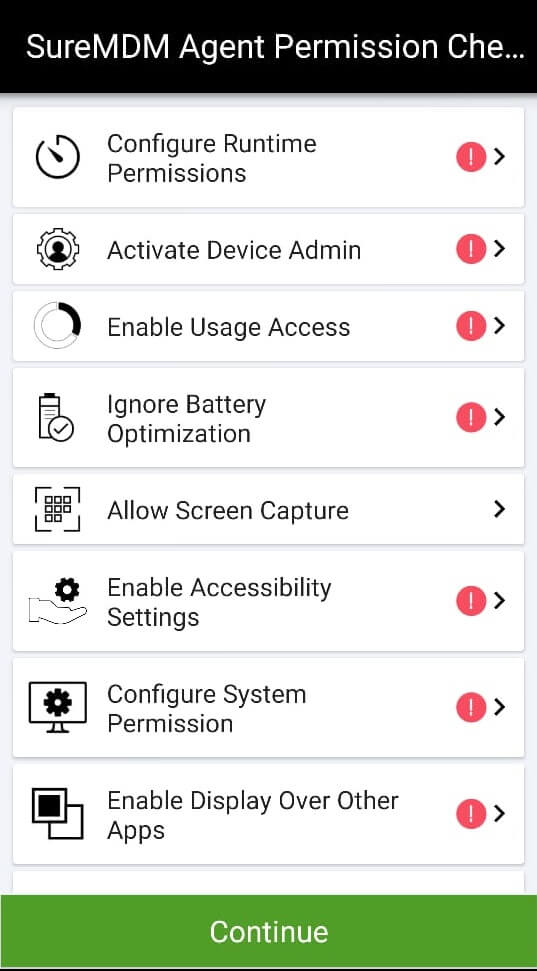
- SureMDM Agent will request a set of system permissions before proceeding with the configurations. Please grant the permissions to help the app work full-fledged on the device. Further click Continue
- You will be navigated to the Enrollment page. Enter the below details.

a. Using the first approach, you can manually Enter SureMDM Account ID and Configure Device Name using the below 3 options. Tap Set Device Name to set the name of the device to be displayed on the SureMDM web console.
- Set Device Name Manually: You can manually set the name of each device.
- Use MAC Address:SureMDM Agent will consider the MAC address of the device.
- Use System Generated Name:SureMDM Agent will consider the name generated by the SureMDM web console.
Once the enrollment is completed, the device screen will show the Device name and status as Online.
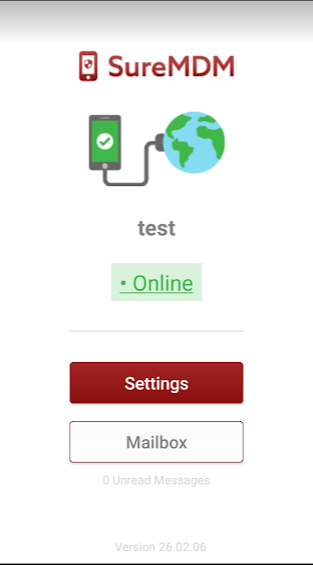
On the SureMDM web console, the device will be listed in the device Grid.

This will enroll the device to SureMDM in Device Owner mode.
Note:It is very important to push a profile to get the device configured with Android Enterpise.
- Login to SureMDM Web Console and navigate to Profiles.
- Select Android on the Profiles screen, click Add and enter the Profile Name.
- Once done, make the desired changes to create a configuration. You can choose from the options available under the Android Profiles section.
Note: You can also set this profile as default profiles to be pushed on devices when they get enrolled.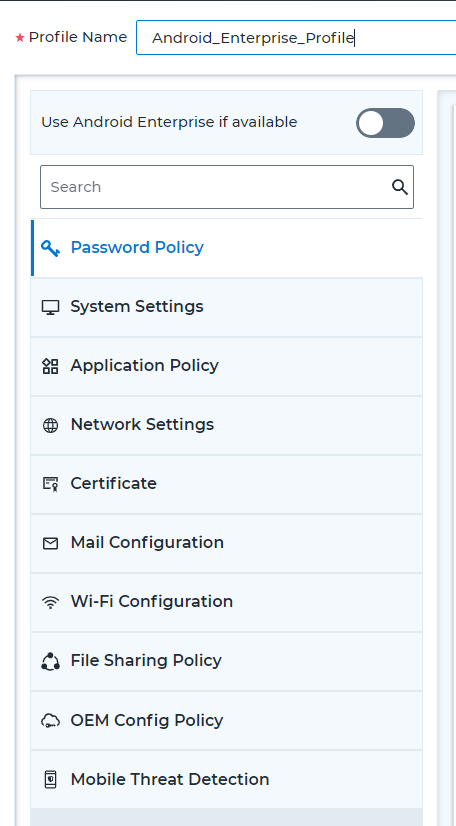
- Click Save to complete the configuration process.
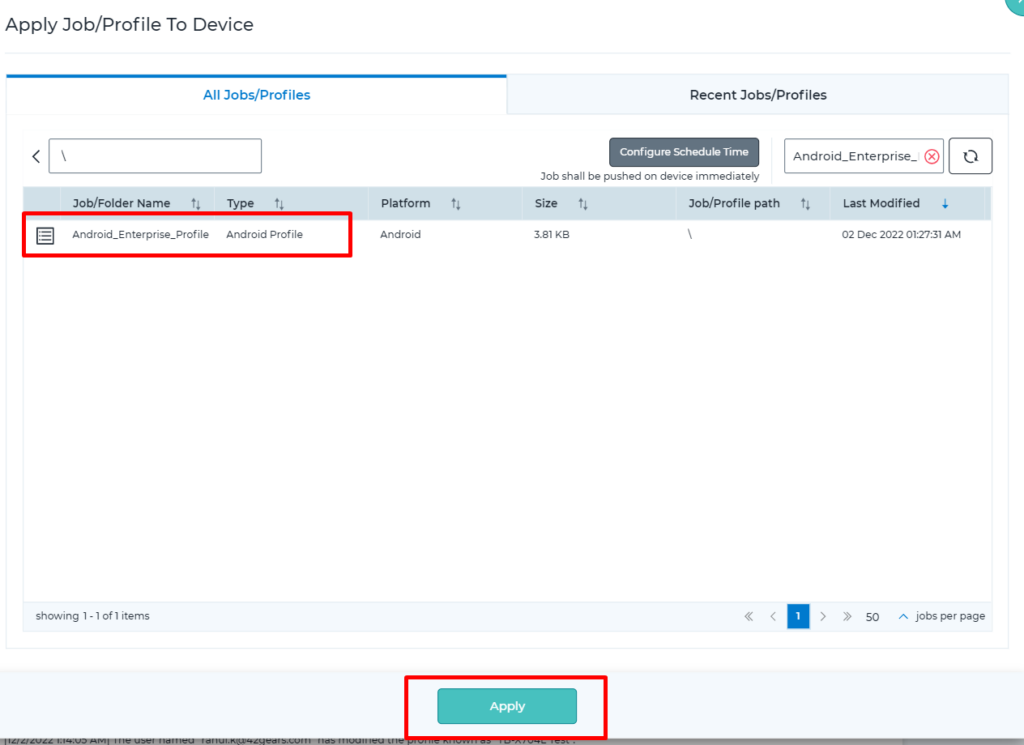
- Now, go back to SureMDM Home, select the device or a group and click Apply.
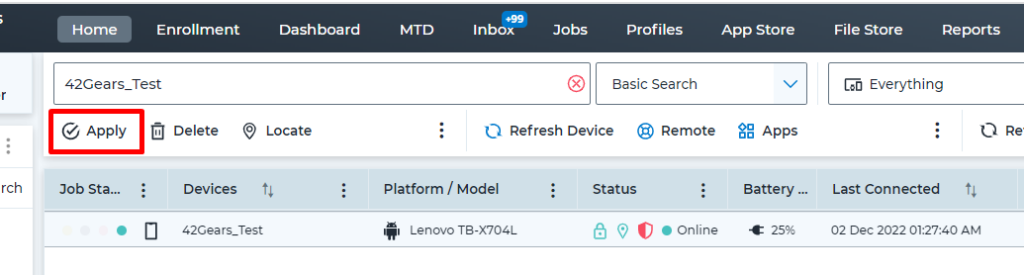
- Select the work profile and apply it to the device.

Need help?