
In the world of connected devices, a stable printer connection is crucial for smooth operations. Giving your Zebra Link-OS printer a static IP address adds control to its network, making communication within your network more predictable and straightforward.
Purpose
The purpose of this knowledge article is to provide a guide on how to configure a Zebra Link-OS Printer with a Static IP Address.
Prerequisites
- Install the Zebra Setup Utility Tool on your computer to configure a Zebra Link-OS printer with a Static IP Address. Download and install the Zebra Setup Utility Tool for Windows.
- Ensure the printer and your computer are connected to the same Wi-Fi network.
Note: Before taking up this configuration, you need to complete the WiFi configuration in Zebra Printer as mentioned here.
Steps
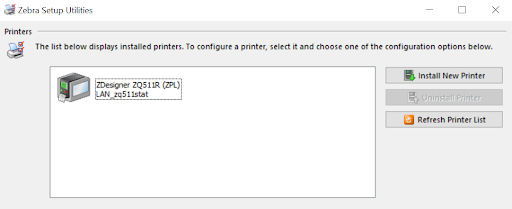
- Run the Zebra Setup Utility Tool.
- Click on Install New Printer.
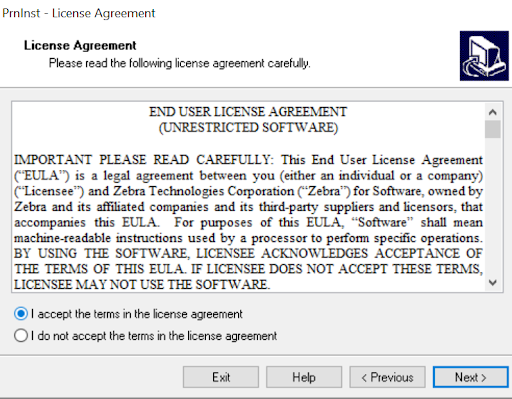
- In the License Agreement, Accept the terms and click on Next.
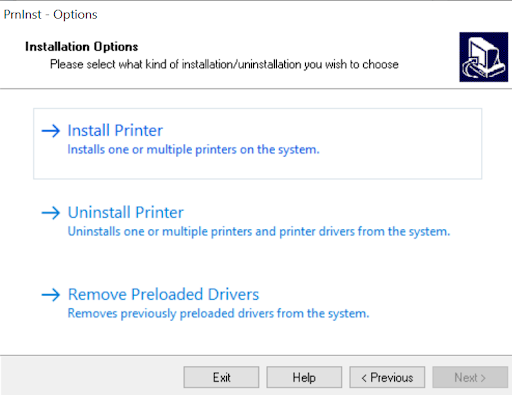
- Click on Install Printer.
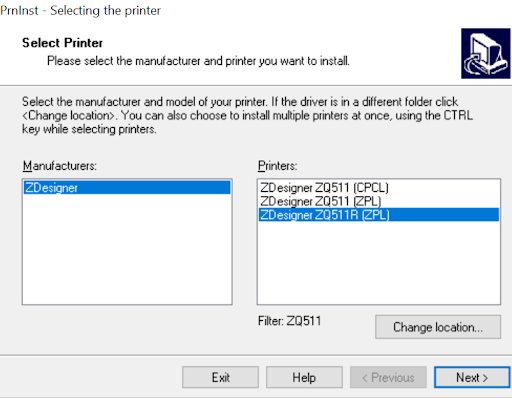
- Select your Printer Model from the list and click Next.
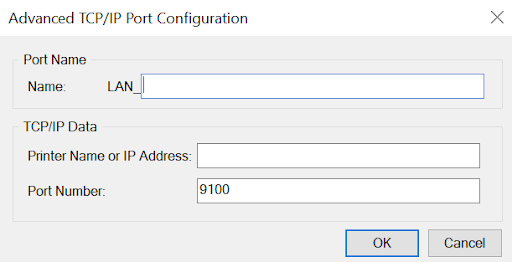
6. Click on Add Port.
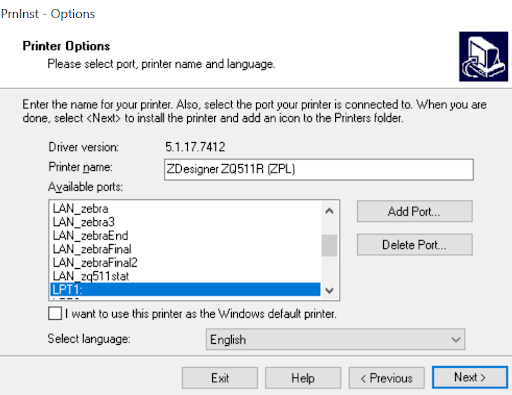
7. Give a name for your port and enter the IP address displayed on the printer.
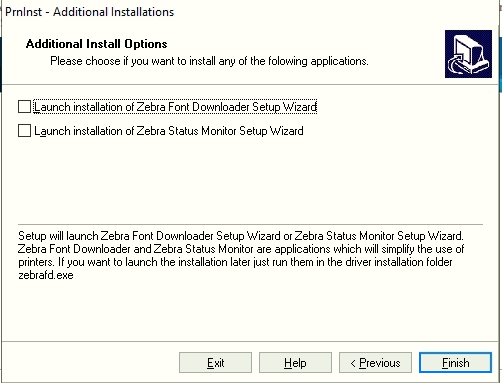
8. Deselect both checkboxes and click on Finish.
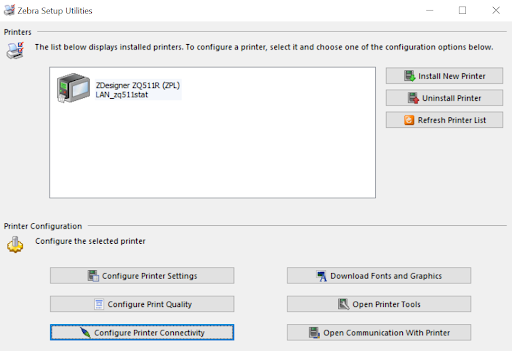
9. Now the printer will be added to the list of installed printers.
10. Once the printer is added to the list of installed printers, click on Configure Printer Connectivity.
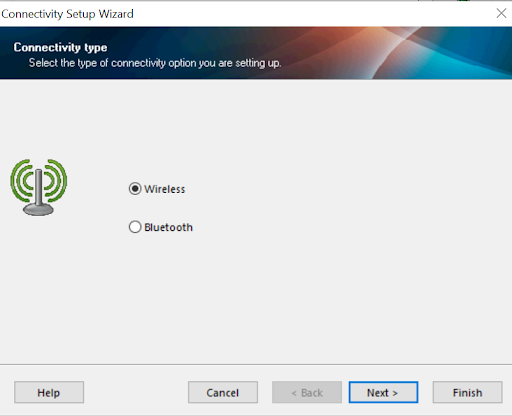
11. In the Connectivity Setup Wizard, select the Wireless option and click on Next.
12. Select Static and type the IP address that must be assigned to the printer, the Subnet Mask of the network, and the Default Gateway IP, and click on Next.
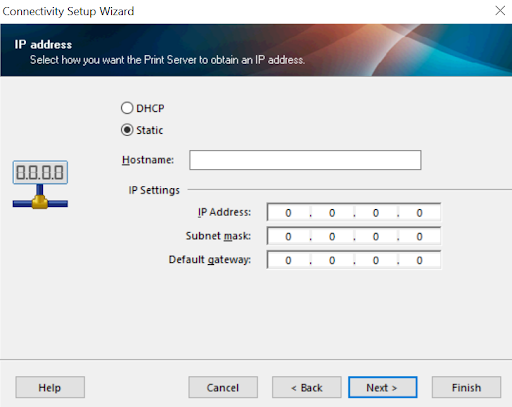
Note: For detailed information about the above step, click here.
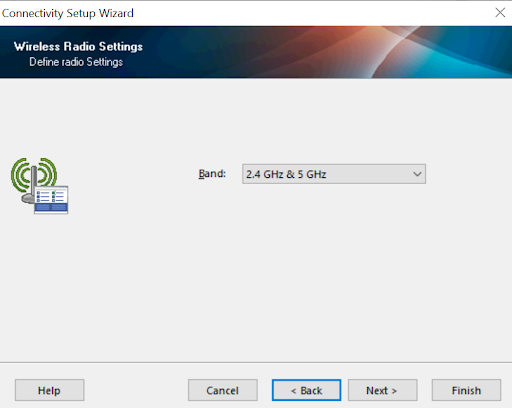
13. Select the Band and click on Next.
14. Enter the ESSID, select the Security mode, and click on Next.
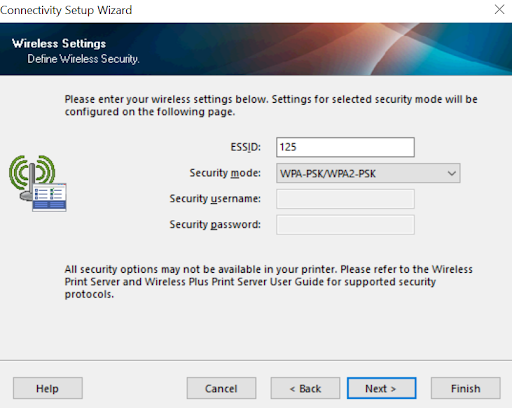
15. Select the PSK type as String and enter your WIFI password.
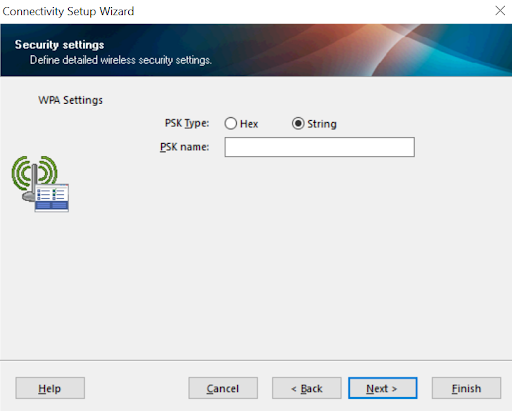
16. Click on Finish, and the data will be sent to the printer.
Need help? CONTACT US