
Plugins are software programs that customize the way platforms function or behave, and allow the user to customize the user experience.
For more information related to the plugins management, please refer to this article.
Purpose
The purpose of this knowledge article is to provide a guide on how Columnify plugins help in updating multiple custom columns in the SureMDM device grid by allowing the user to upload a .CSV file containing the Device Name/IMEI/Serial Number, Custom column name and the desired value for the Custom column.
Prerequisites
- Plug-in feature is only available for Enterprise subscription.
- Special characters supported are : ( ) [ ] ” ‘ @ – _{ } &
- Create a Custom column. Please refer this document for the same – https://knowledgebase.42gears.com/article/configure-custom-columns-in-suremdm/
Steps
How to Enable Apps Plugin in SureMDM:
- On the SureMDM Web Console, navigate to Settings > Account Settings > Plugins > Manage Plugin > select Plugin Store.
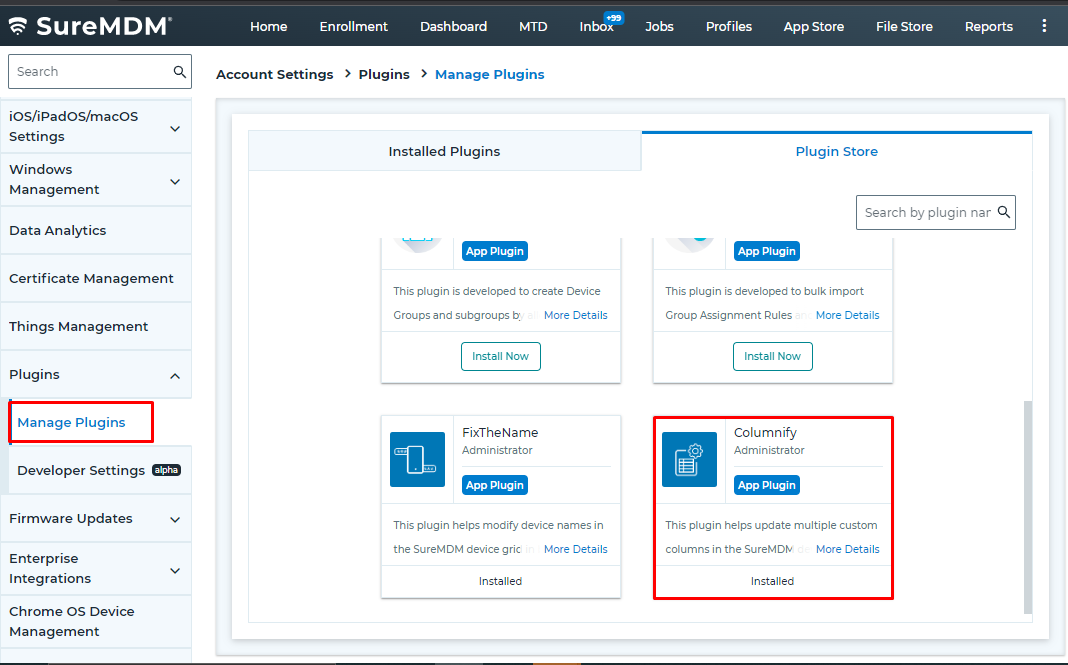
- Select the Columnify plugin from the store and click on Install Now.
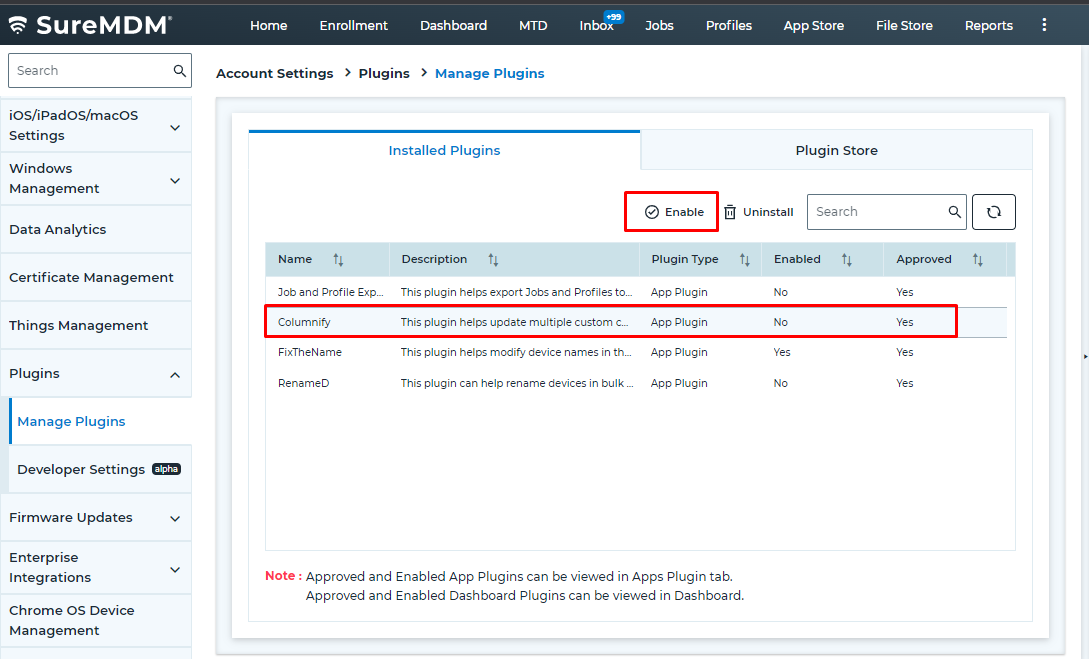
The selected plugin will be listed under the Installed Plugin section.
- Select a plugin and click Enable.
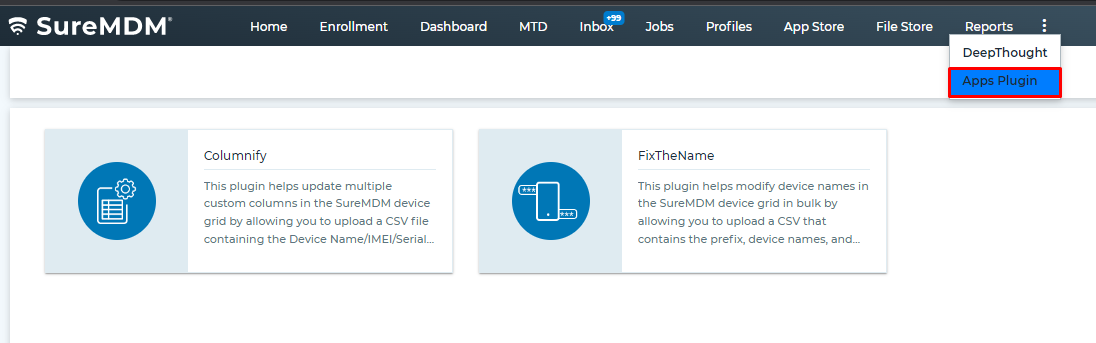
- Once the required plugin is enabled, it will be reflected under Apps Plugin which is made visible on More tab > under Apps Plugin.
How to create a .csv file:
- Create a CSV file with three values separated by commas (,).
- The first should be either the Device Name/IMEI/IMEI2/Serial Number.
- The second should be the Custom Column name.
- The third should be the value to be updated/added in the specified custom column.
Please click here to download the sample .csv file.
How to execute Columnify plugin to get the expected results:
- Login to SureMDM console > click on the MORE tab > choose Apps Plugin.
- Select Columnify and the following page will be displayed.

- Upload the .csv file created > tap on Choose File under Upload File tab and select the file.
- Upon uploading a valid file, the below message will be displayed.

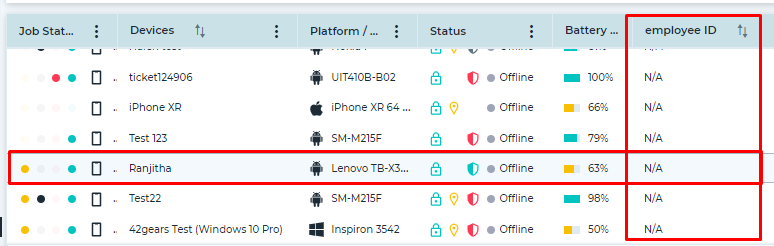
- Below is the snippet of a device grid before executing the plugins for the custom column
- Now, tap on “Update Columns”.
- The below message is displayed upon successfully executing the plugin.

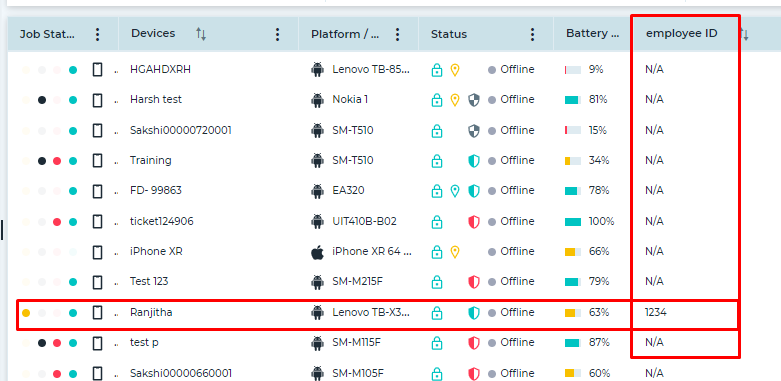
- Post executing the plugin the custom column value will be changed as shown in below snippet:
Need more help? Here’s how to get help from our experts.
Was this helpful?
YesNo